Step-by-Step Guide: Creating a Python MCP Server for Salesforce Agent Actions
Introduction: Why Model Context Protocol (MCP) Matters for Salesforce
As AI Agents become deeply embedded into enterprise workflows, the ability to securely expose external data and systems to LLMs is paramount. Anthropic’s Model Context Protocol (MCP) has emerged as an open standard for connecting AI models to data sources and tools securely.
For Salesforce Architects, Developers, and Administrators, combining MCP with Salesforce Agentforce unlocks massive potential. It allows your autonomous agents to bridge the gap between Salesforce CRM and external databases or legacy systems in real-time.
In this step-by-step tutorial, we will build a simple Python-based Employee Directory MCP server, deploy it publicly, and connect it to Salesforce as an Agent Action.
Prerequisites
Before diving in, ensure you have the following ready:
- Python 3.x installed on your local machine.
- A code editor (VS Code or Cursor IDE).
- A GitHub account.
- A Render account (Free tier) for deployment.
- A Salesforce Developer Org with Agentforce enabled.
Step 1: Setting Up Your Local Environment
First, let’s establish our project workspace and install the necessary dependencies using the FastMCP framework.
- Create a folder with the name
employee-mcp. - Open the folder using VS Code or Cursor IDE.
- Open the Terminal in your IDE and run the following commands to set up a virtual environment and install the required packages:
python3 -m venv venv

# For MacOS:
source venv/bin/activate
# For Windows OS:
# venv\Scripts\activate

pip install "mcp[cli]" uvicorn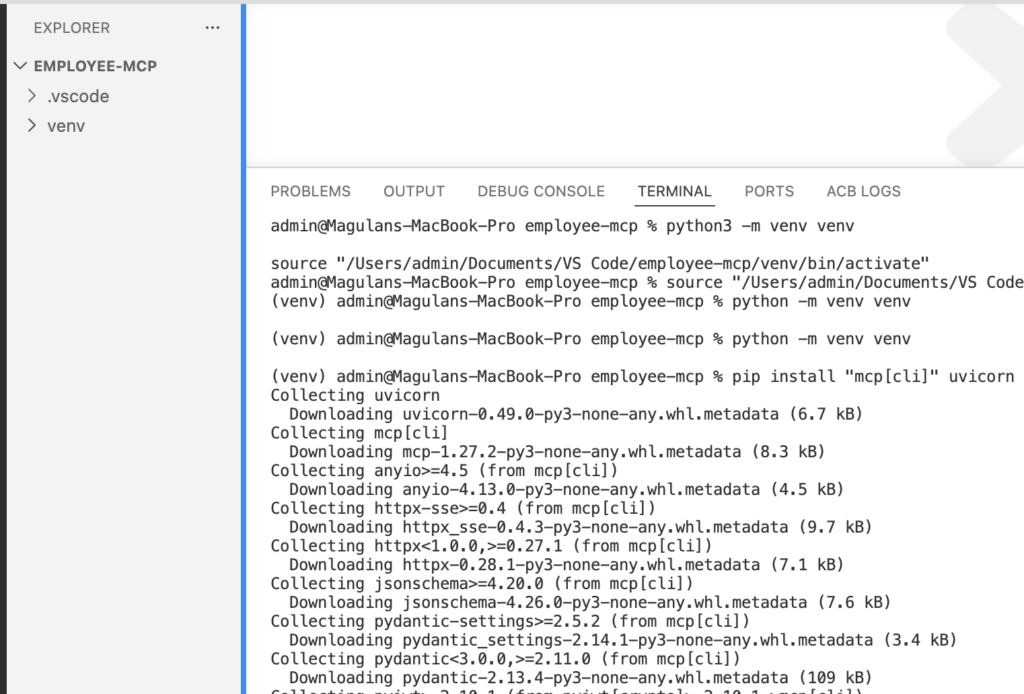
Step 2: Writing the MCP Server Application
We will create a simple Python application using FastMCP. This script mocks an employee directory dataset and exposes a tool called get_employee to fetch records using an Employee ID.
Create a new file named server.py and paste the following code:
import os
from mcp.server.fastmcp import FastMCP
from starlette.middleware.cors import CORSMiddleware

port = int(os.environ.get("PORT", 8000))
mcp = FastMCP("Employee Directory", host="0.0.0.0", port=port)

EMPLOYEES = {
    "E001": {
        "name": "Alice Johnson",
        "age": 32,
        "phone": "+1-555-0101",
        "joining_date": "2020-03-15",
        "employment_type": "Full-time",
        "office_location_city": "New York",
    },
    "E002": {
        "name": "Bob Smith",
        "age": 45,
        "phone": "+1-555-0202",
        "joining_date": "2015-07-01",
        "employment_type": "Full-time",
        "office_location_city": "San Francisco",
    },
    "E003": {
        "name": "Carol Davis",
        "age": 28,
        "phone": "+1-555-0303",
        "joining_date": "2023-01-10",
        "employment_type": "Contract",
        "office_location_city": "Austin",
    },
}

@mcp.tool()
def get_employee(employee_id: str) -> dict:
    """
    Get employee details by employee ID.
    Returns name, age, phone, joining date, employment type, and office city.
    """
    employee = EMPLOYEES.get(employee_id.upper())
    if not employee:
        return {"error": f"No employee found with ID '{employee_id}'"}
    return employee

app = mcp.streamable_http_app()

app.add_middleware(
    CORSMiddleware,
    allow_origins=["*"],
    allow_methods=["*"],
    allow_headers=["*"],
)

if __name__ == "__main__":
    import uvicorn
    uvicorn.run(app, host="0.0.0.0", port=port)
Define Project Dependencies and Hosting Configurations
To ensure smooth deployment, we need to declare our dependencies and set up an execution file for production hosting.
Create a new file named requirements.txt:
mcp[cli]
uvicorn
starlette
Create a new file named Procfile (this tells the cloud host how to run your app):
web: uvicorn server:app --host 0.0.0.0 --port $PORT --proxy-headers --forwarded-allow-ips="*"
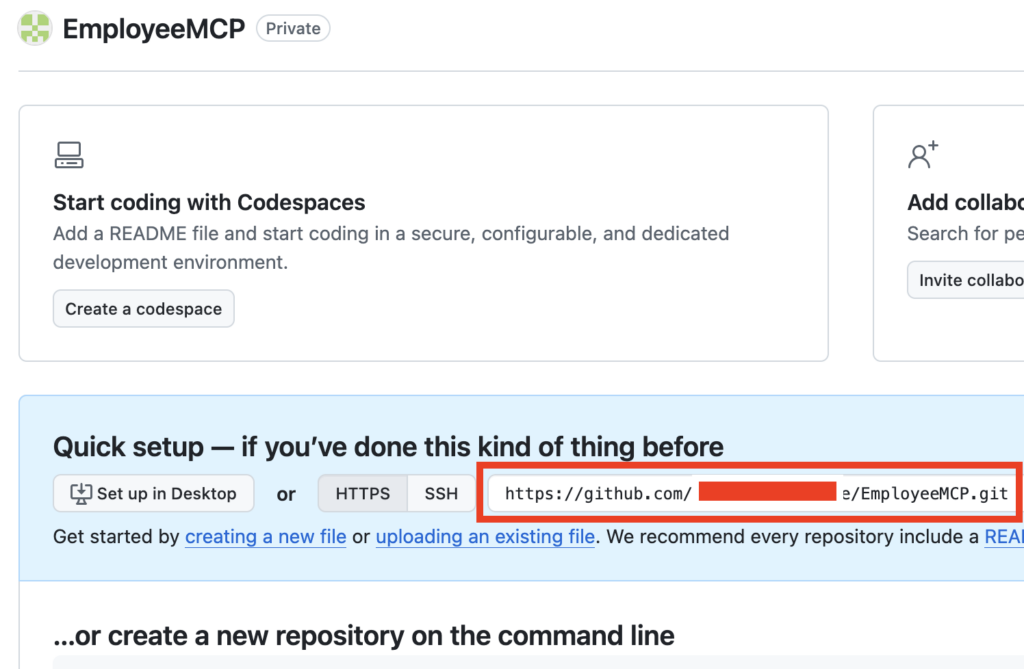
Step 3: Pushing the Code to GitHub
Cloud platforms like Render deploy directly from source control.
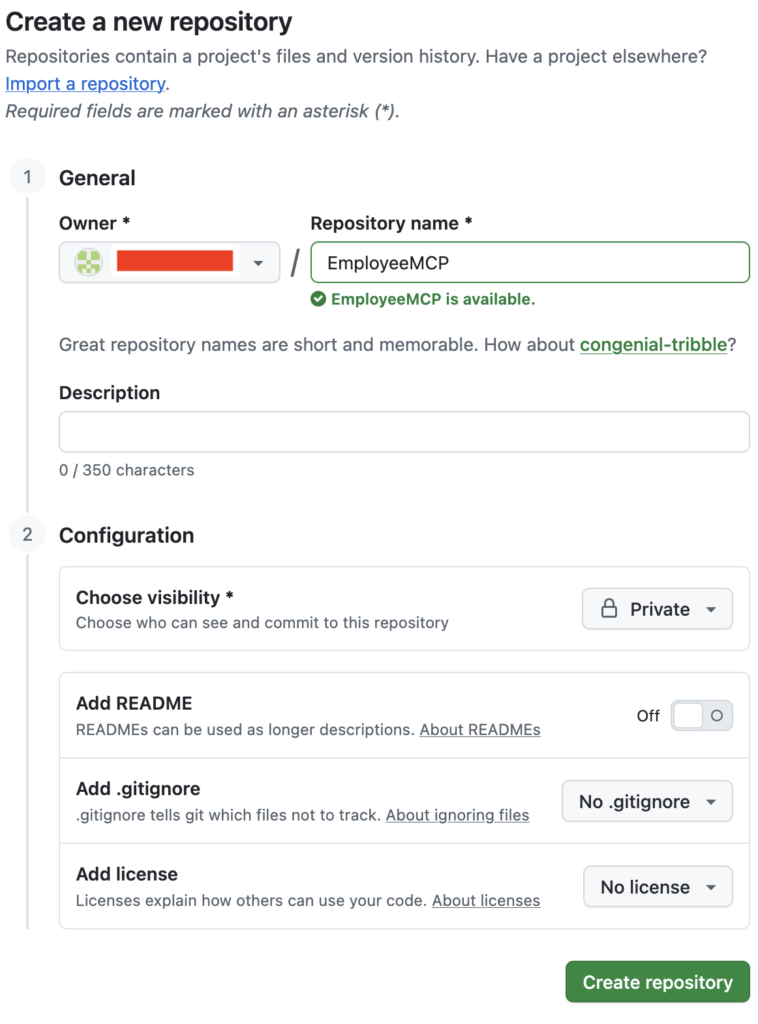
Let’s push our codebase to a public or private GitHub repository.
Run the following commands in your IDE terminal:
git init
git add .
git commit -m "Initial employee MCP server"
git remote add origin <Your GitHub Repo URL>
git push -u origin main
Step 4: Deploying Your MCP Server to Render
To test our server inside Salesforce, it must be hosted publicly over HTTPS. Render provides an easy, developer-friendly hosting layer.
- Go to https://render.com and sign up or log in.
- Click New → Web Service.
- Connect your newly created GitHub repository (
employee-mcp). - Configure the web service settings as follows:
- Environment:
Python 3 - Build Command:
pip install -r requirements.txt - Start Command:
python server.py - Instance Type:
Free
- Environment:
- Click Deploy.
Once the build finishes successfully, Render will generate a public URL for you, which will look similar to this:
https://employee-mcp.onrender.com
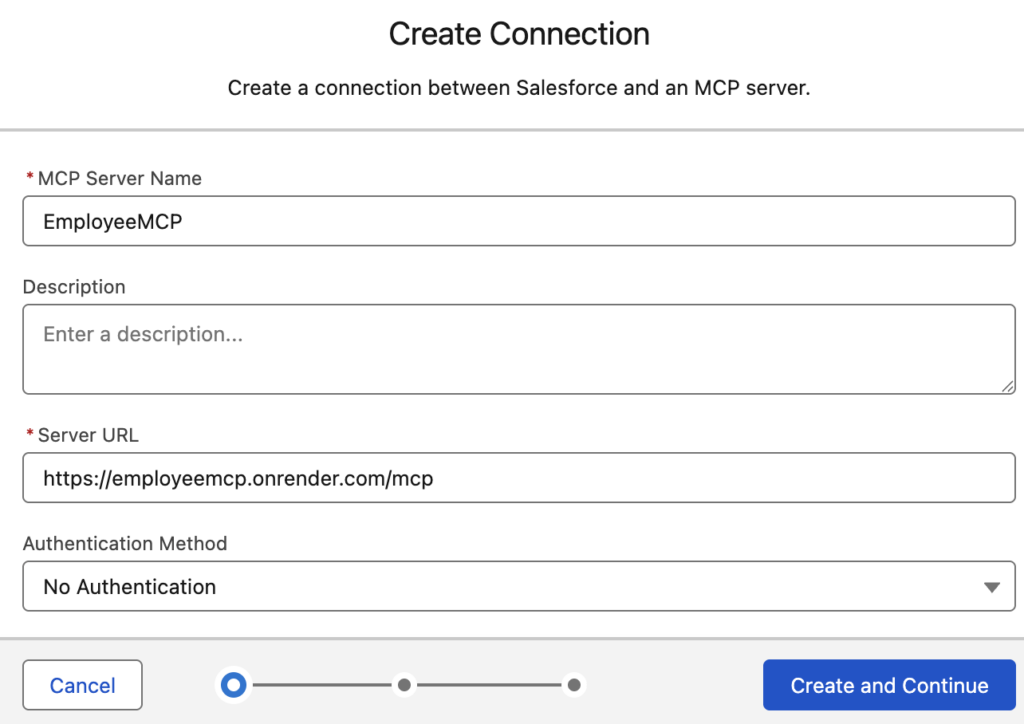
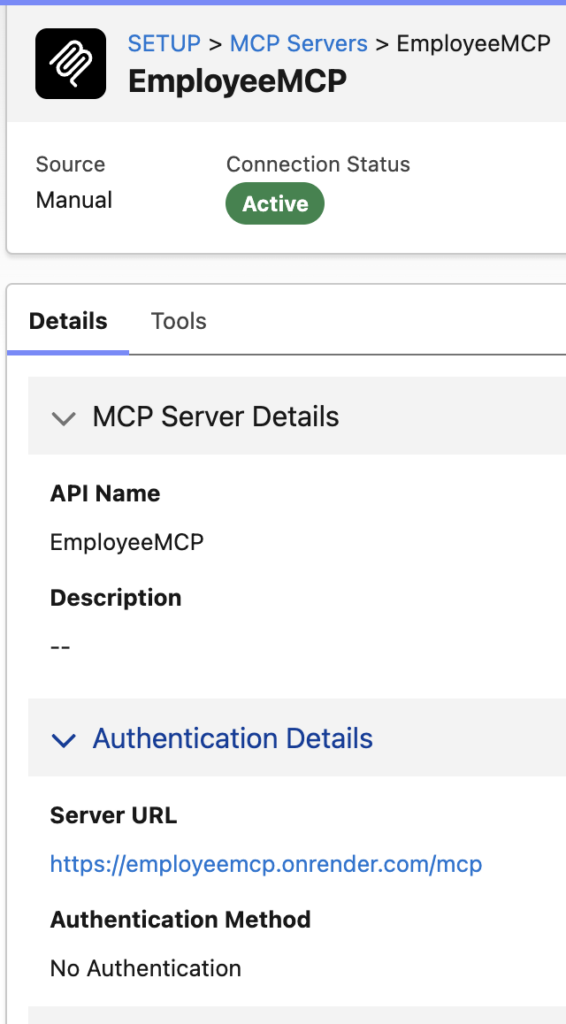
Step 5: Testing and Registering in Salesforce
With your cloud-hosted MCP server running, the final phase is integrating it into your Salesforce ecosystem.
1. Target the MCP Endpoint
Because the server is built using the Model Context Protocol, the exact endpoint where the schema resides will have /mcp appended to the root domain. Your final configuration URL will be:
https://employee-mcp.onrender.com/mcp
2. Salesforce Setup Configuration
- Log into your Salesforce Org and navigate to Setup.
- Search for and select the relevant MCP Server Registration setting or External Services manager.
- Provide a name for your service and paste your Render
/mcpURL. - Complete the registration to automatically pull your
get_employeetool schema into Salesforce.
3. Wire it to Agentforce
- Navigate to the Agentforce Studio.
- Open your target AI Agent.
- Add a new Agent Action and select your newly registered MCP Tool.
- Save and activate your Agent.
You can now test the agent within the setup console by asking it: “Can you tell me the details of employee E001?” The agent will make an HTTP callout to your Render server, parse the JSON payload, and respond with Alice Johnson’s details natively!

Conclusion & Summary
You’ve successfully built an open-standard MCP server from scratch, packaged it using Python, deployed it to the cloud, and used it to extend the intelligence of Salesforce Agentforce. This architecture prevents hardcoded integrations and allows you to scale your external AI tooling effortlessly.
Have questions about scaling your MCP implementations or wiring them up to complex databases? Let us know in the comments below!
Integrating Model Context Protocol (MCP) with Salesforce: A Complete Developer Guide