How to Install the Salesforce Agentforce DX Extension Pack in Cursor?
The development landscape for Salesforce professionals is rapidly evolving. With the introduction of Agentforce DX, developers, architects, and administrators now have powerful pro-code tools to build, test, and preview AI agents directly within their local development environments. While Visual Studio Code (VS Code) has been the traditional go-to IDE for Salesforce development, many technical professionals are adopting Cursor, an AI-first code editor built on the same underlying framework.
Because Cursor is a fork of VS Code, it seamlessly supports the VS Code extension ecosystem, meaning you can leverage the full power of the Salesforce Extension Pack and Agentforce DX without changing your IDE preferences.
Here is the exact process to get your environment up and running.
Installation Steps
Cursor natively supports VS Code extensions.
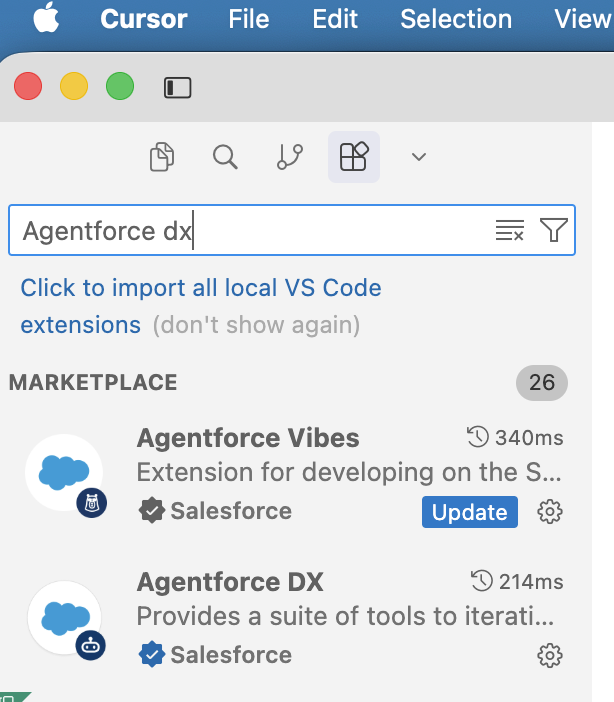
- Open Cursor.
- Click on View in the top menu and select Extensions (or press Ctrl + Shift + X on Windows / Cmd + Shift + X on Mac).
- In the search bar, type Agentforce DX.
- Click Install.