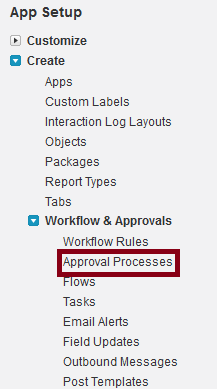
1. Go to Setup –> Create –> Workflow & Approvals –> Approval Processes.
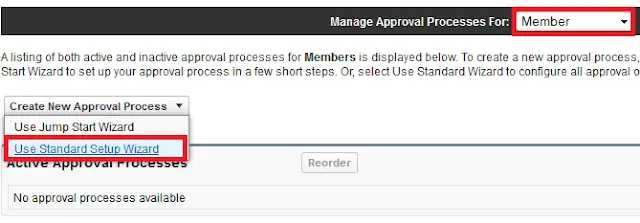
2. Select the object to create approval process.
3. Click “Create New Approval Process” button and click “Use Standard Setup Wizard” link.
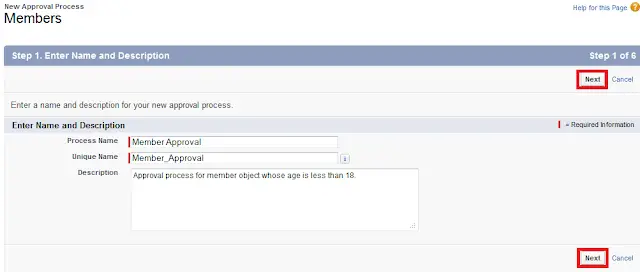
4. Enter a name and description for your new approval process.
5. Click “Next” button.
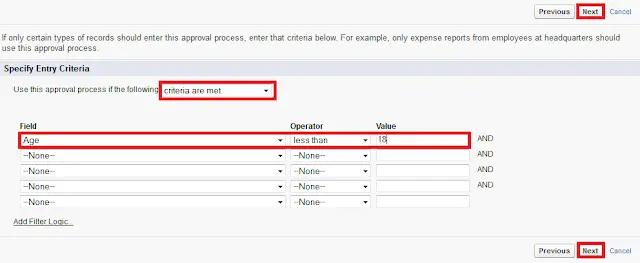
6. Specify Entry Criteria.
7. Click “Next” button.
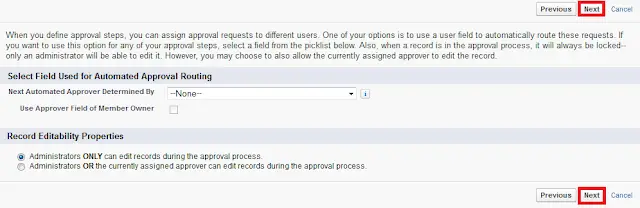
8. Specify Approver Field and Record Editability Properties.
9. Click “Next” button.
10. Select Notification Templates.
11. Click “Next” button.

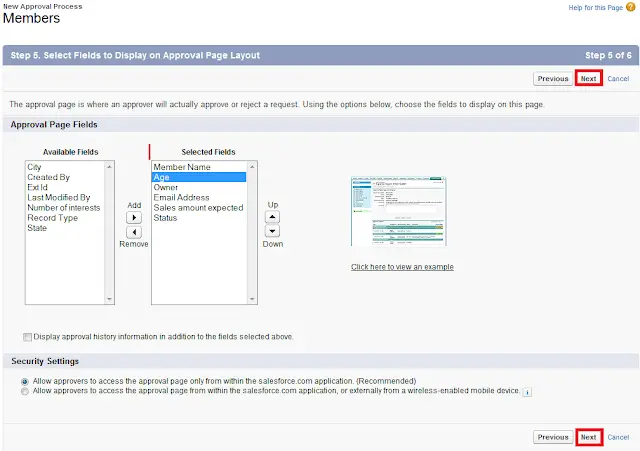
12. Select Fields to Display on Approval Page Layout.
13. Click “Next” button.
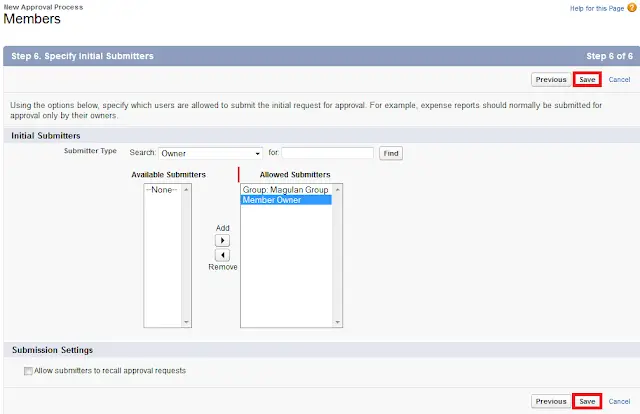
14. Specify Initial Submitters.
15. Click “Save” button.
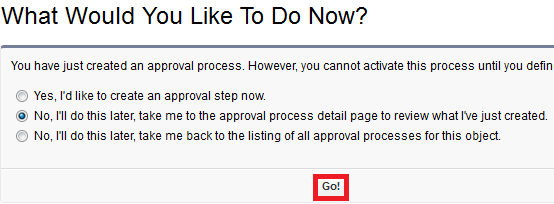
16. Select “No, I’ll do this later, take me to the approval process detail page to review what I’ve just created”.
17. Click “Go” button.
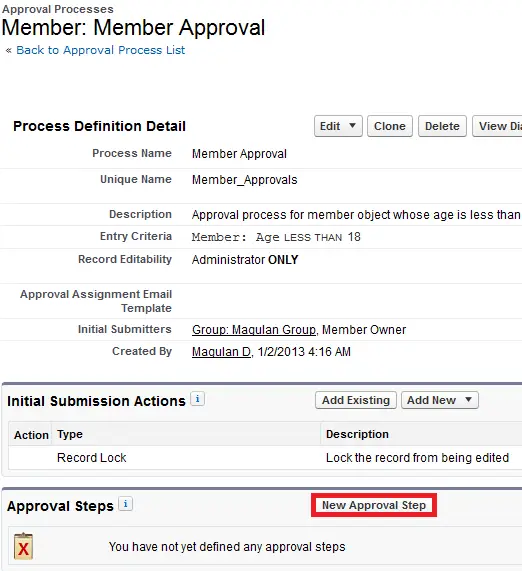
18. Click “New Approval Step’ button.
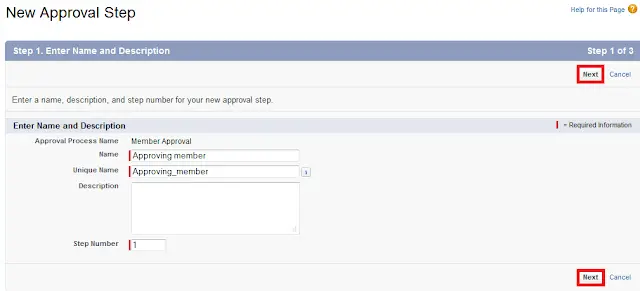
19. Enter Name and Description.
20. Click “Next” button.
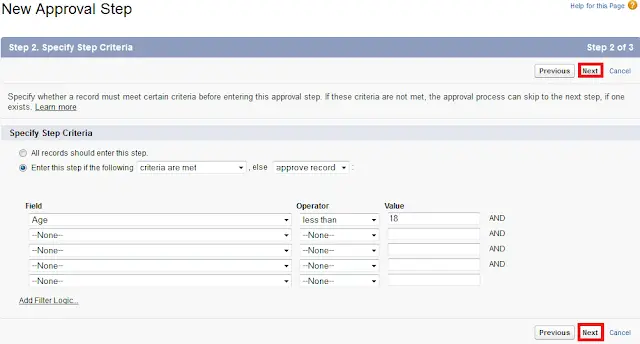
21. Specify Step Criteria.
22. Click “Next” button.
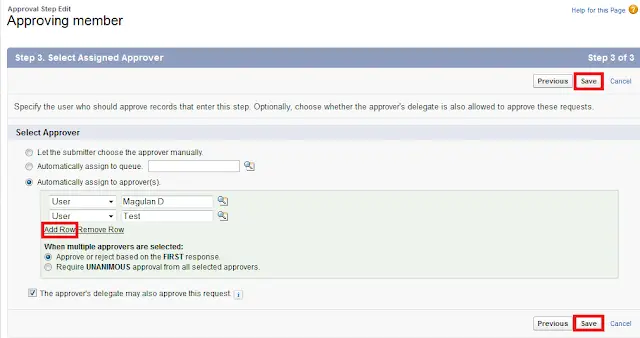
23. Select “Automatically assign to approver(s)”.
24. Select the “Queue” or “User” or “Related User”.
25. When multiple approvers are selected, select anyone of the following
a. Approve or reject based on the FIRST response.
b. Require UNANIMOUS approval from all selected approvers.
26. Click “Add Row” link to add multiple approvers.
27. Click “Save” button.
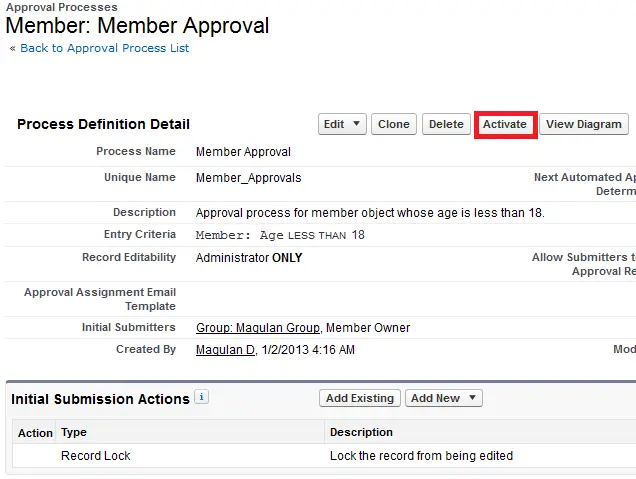
28. Click “Activate” button to activate your approval process.
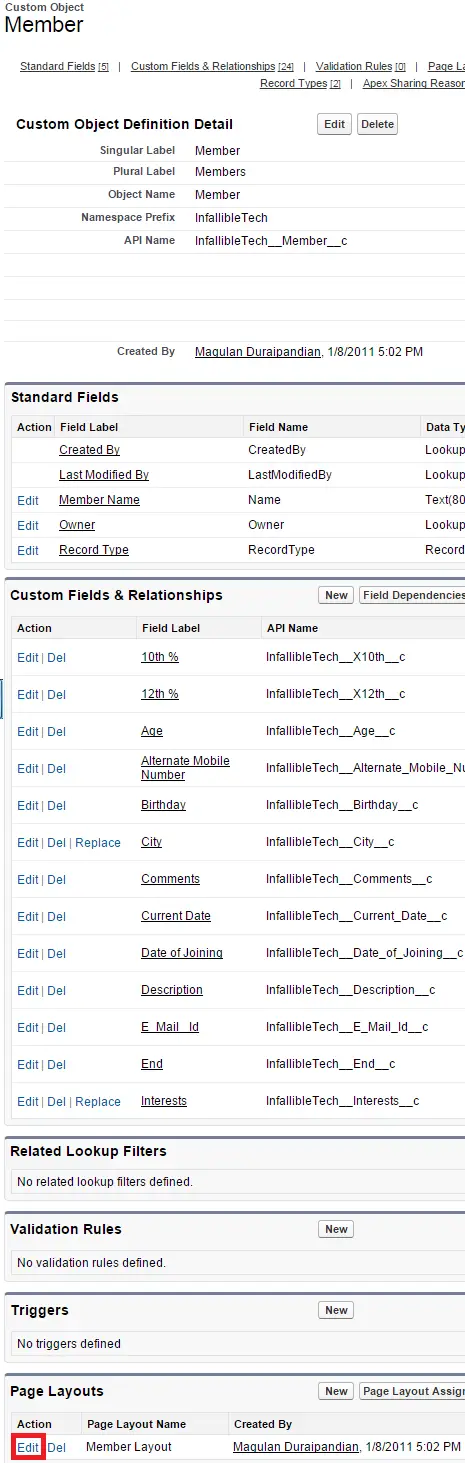
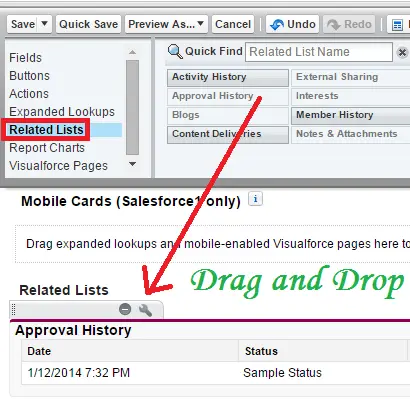
29. Go to the Object’s page layout and add Submit for Approval button and Approval History related list.
30. Add “Submit for Approval” button.
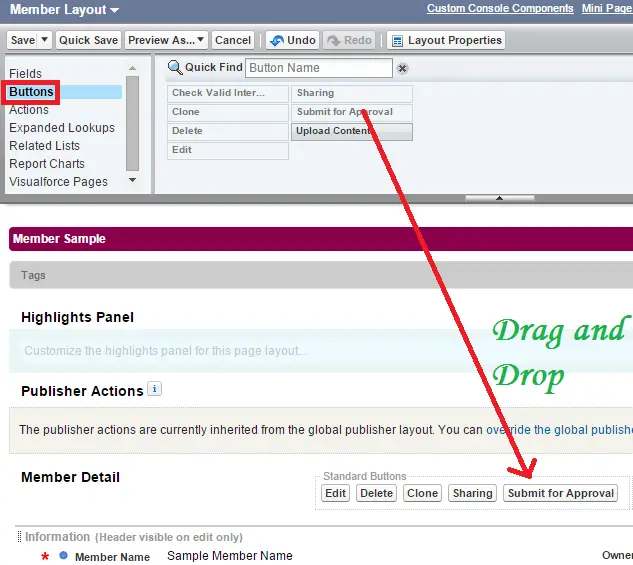
31. Add “Approval History” related list.
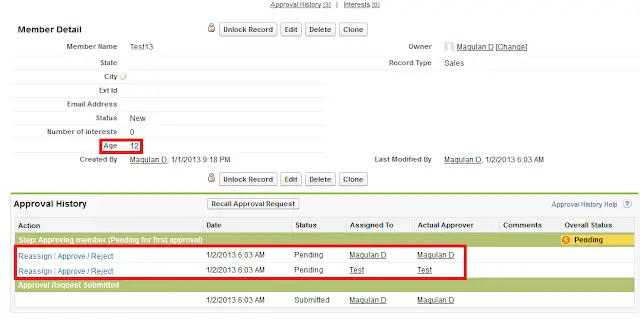
Output: