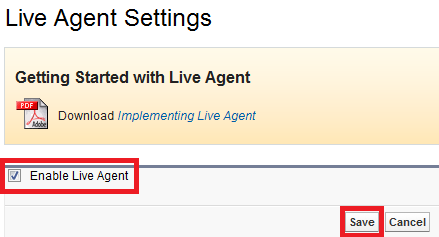
2. Check “Enable Live Agent” checkbox and click “Save” button.
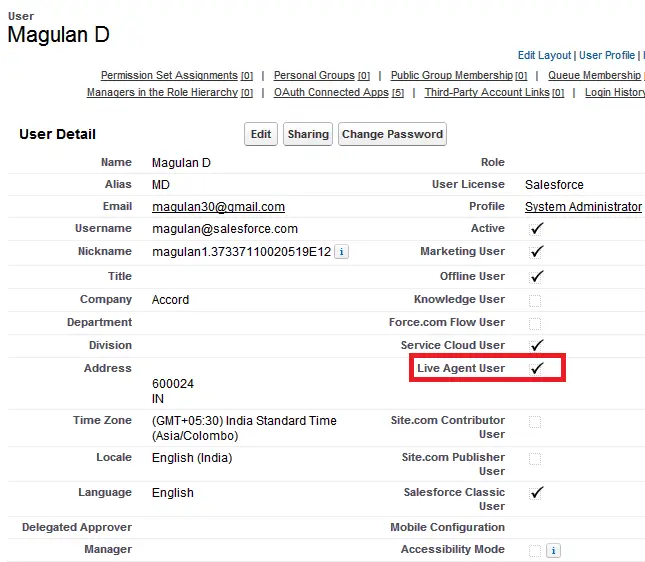
3. Go to My Settings –> Personal –> Advanced User Details and enable Live Agent user check box in your user detail page.
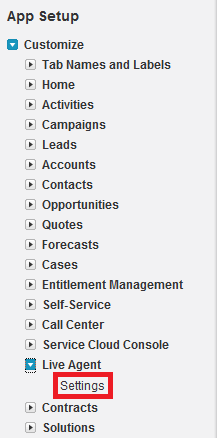
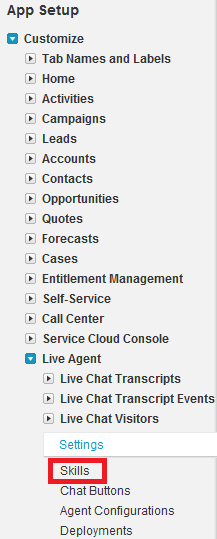
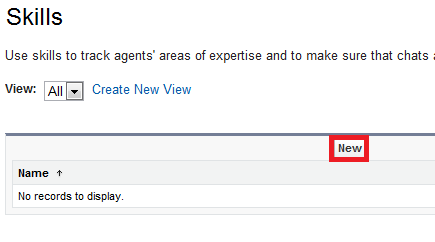
4. Click “Skills” under Live Agent.
5. Click “New” Button.
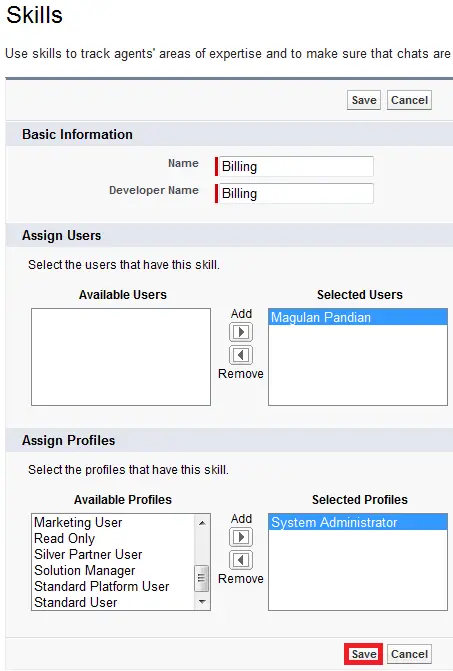
6. Add a Skill and click “Save” button.
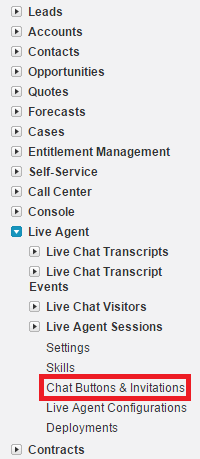
7. Go to Chat Buttons under Live Agent.
8. Create a new Chat Button.

9. Save the Chat Button.

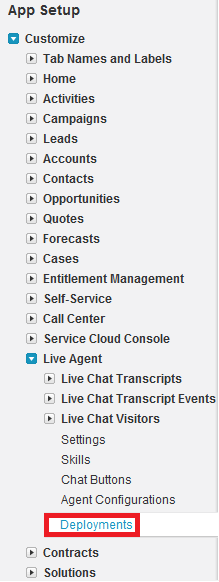
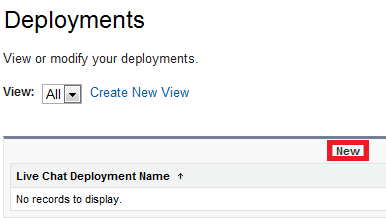
10. Go to Deployments under Live Agent.
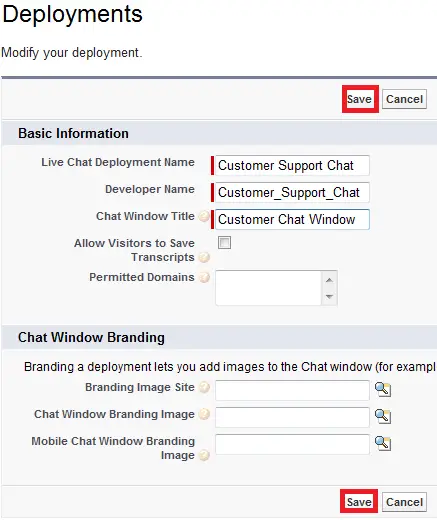
11. Create New Deployment.
12. Save Deployment.
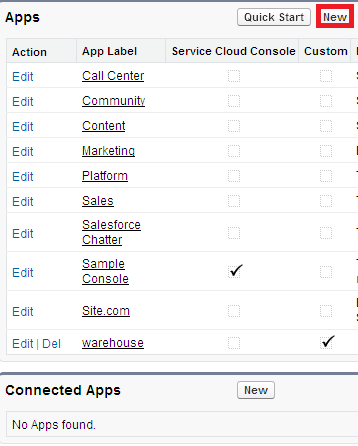
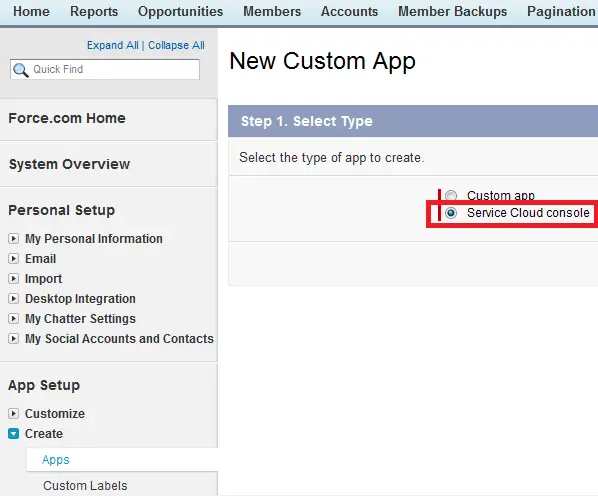
13. Create a Service Cloud Console Application from Create –> Apps and click “New” button.

14. Check “Include Live Agent in this App” while creating Service Cloud Console application.

15. Select the Service Cloud Console App created from the Force.com App Menu.

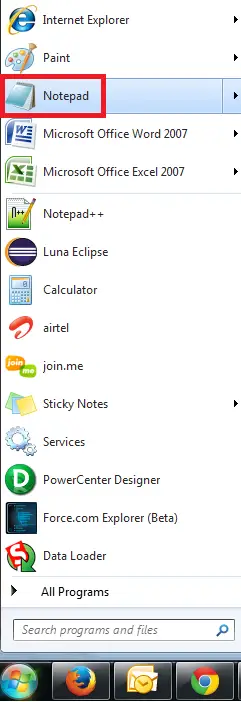
16. Create a HTML page with code from “Chat Buttons” and “Deployments”. Open Notepad.
Get the below codes.
Chat Button Code:

Deployments Code:

16. To customize your chat button manually, replace the Online Chat Content and Offline Chat Content comments.
Replace the below codes:
<!– Online Chat Content –> and <!– Offline Chat Content –>
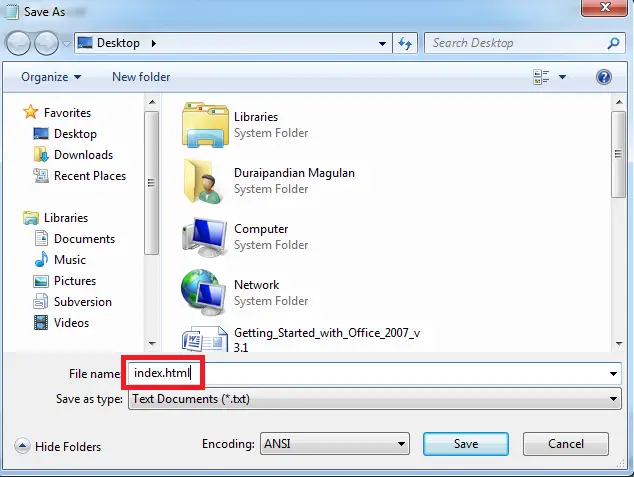
17. Save the Notepad file with .html.

Sample HTML:

18. Open the Console application created in Salesforce and go online in Live Agent.
19. Open the HTML page created by you.
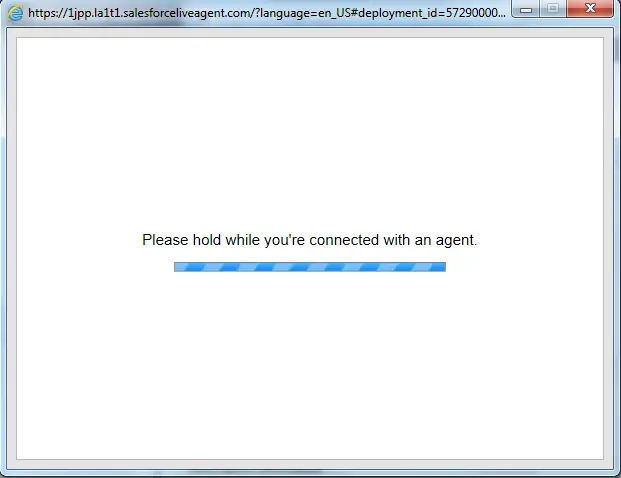
20. Click the link to chat with the Live Agent.
19. Accept the invitation in Service Cloud Console application to chat with the user.

Output:

