An Analytic Snapshot helps us to create report on historical data.
Analytic Snapshots comprises of three things:
- A source Report of type Tabular or Summary
- A Custom Object with fields matching the columns in the source Report
- An Analytic Snapshot definition, which maps fields and schedules the snapshot runs
Steps to set Analytic Snapshot:
1. Go to Setup –> Administration Setup –> Data Management –> Analytic Snapshot.
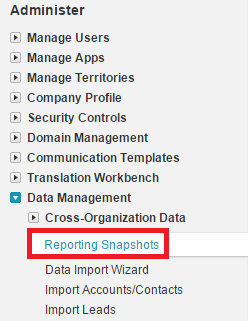
2. Click “Analytic Snapshot” button.
3. Select the Running User, Source Report and Target Object.
4Click “Save & Edit Field Mappings” button.

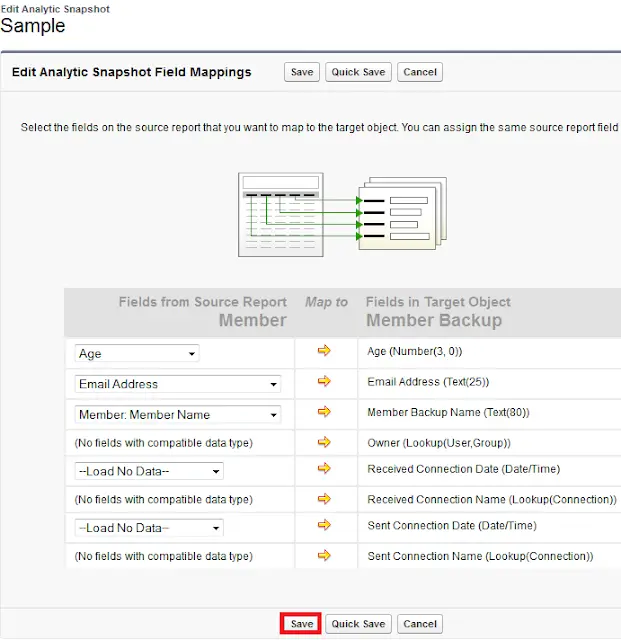
5. Map the fields and click “Save” button.
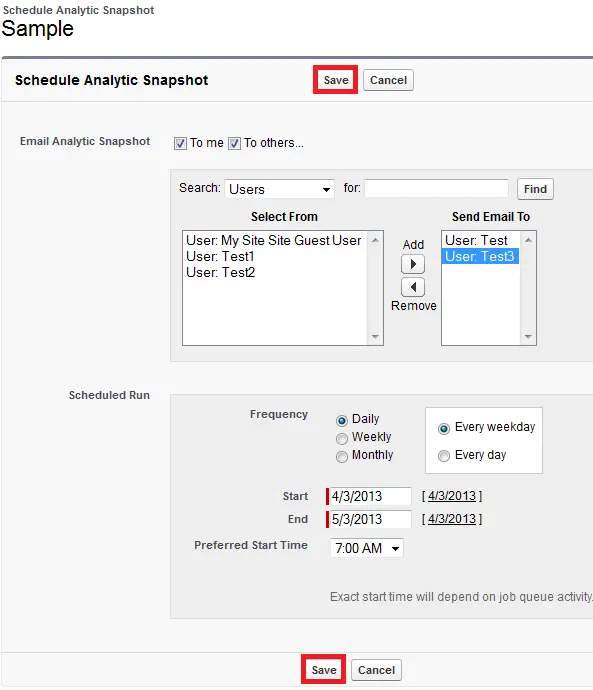
6. Click “Edit” button in Schedule Analytic Snapshot related list.

7. Set the frequency and preferred start time and click “Save” button.
Email notification:
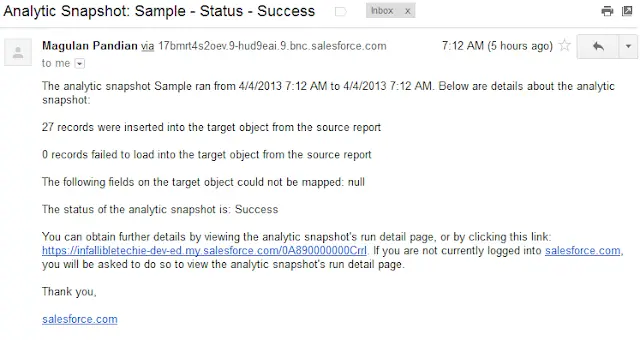
After clicking the link in email:

An analytic snapshot will fail during a scheduled run if:
- The source report includes more than 100 fields
- The source report was changed from summary to tabular
- The selected grouping level for a summary source report is no longer valid
- The running user does not have access to the source report
- The running user does not have the “Run Reports” permission
- The target object has more than 100 custom fields
- The target object contains validation rules
- The target object is included in a workflow
- The target object is a detail object in a master-detail relationship
- The target object runs an Apex trigger when new records are created on it
- The running user does not have the “Create” permission on the target object. Note that if the target object’s status is In Development, the running user must have the “Customize Applications” permission.