If you are using your custom website, then please check the following.
Note:
The following steps are for Embedded Service Deployment Chat.
1. Create a Custom Field in Chat Transcript object/entity. This new Custom Field is used to store the name of the Chat Visitor. This Custom Field value will be used in the BOT Context Variable to get the Name of the Chat Visitor in a custom BOT variable.
2. Create the following Visualforce Page.
<apex:page showheader="false">
    <style type="text/css">
        body {
            background-color: white;
        }
    </style>
    <script>
        let fullNameOfUser = '{!$User.FirstName}'
        + ' ' +
        '{!$User.LastName}';
        console.log(
            'fullNameOfUser is',
            fullNameOfUser
        );
        sessionStorage.setItem(
            'CurrentUserFullName',
            fullNameOfUser
        );
    </script>
</apex:page>
The Visualforce Page will be added to the Experience Cloud Site. It is mainly used to get the name of the logged in user using {!$User.FirstName} and {!$User.LastName} expressions. sessionStorage is used so that we can access the value from the Experience Cloud Site “Snippet Settings File” JavaScript.
“Available for Lightning Experience, Experience Builder sites, and the mobile app” should be enabled on the Visualforce page since it will be added to the Experience Cloud Site.
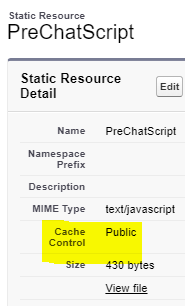
3. Create the following JavaScript file. The extension of the file should be “js”. Upload this file in Salesforce Static Resources. The Cache Control on the Static Resource should be Public.
window._snapinsSnippetSettingsFile = ( function() {

    console.log(
		"Code from Static Resource loaded"
	);
    let name = sessionStorage.getItem(
		'CurrentUserFullName',
	);
	console.log(
		'Name is',
		name
	);

	if ( name ) {

		embedded_svc.snippetSettingsFile.extraPrechatFormDetails  = [ {
				"label" : "Name",
				"value" : name,
				"transcriptFields" : ["Name__c"]
		} ];

	}

}
)();
This JavaScript file will be referenced in the Experience Cloud Site’s “Embedded Service Chat” component’s “Snippet Settings File” property.
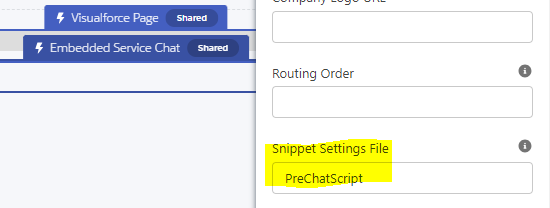
4. Note down the Static Resource Name. Update Experience Cloud Site’s “Embedded Service Chat” component’s “Snippet Settings File” property with the Static Resource Name.
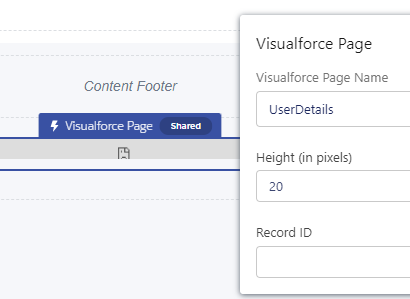
5. Add the Visualforce page also to the Experience Cloud site just above the Embedded Service Chat component.
6. Use the following package.xml to extract your BOT. Please your BOT’s API Name.
<?xml version="1.0" encoding="UTF-8"?>
<Package xmlns="http://soap.sforce.com/2006/04/metadata">
	<types>
		<members>Embedded_Chat_with_BOT_and_without_Pre_Chat</members>
		<name>Bot</name>
	</types>
	<version>58.0</version>
</Package>
7. Add the following to create a Context Variable in the BOT. Deploy the BOT after the changes.
<contextVariables>
	<contextVariableMappings>
		<SObjectType>LiveChatTranscript</SObjectType>
		<fieldName>LiveChatTranscript.Name__c</fieldName>
		<messageType>WebChat</messageType>
	</contextVariableMappings>
	<dataType>Text</dataType>
	<developerName>TranscriptName</developerName>
	<label>Transcript Name</label>
</contextVariables>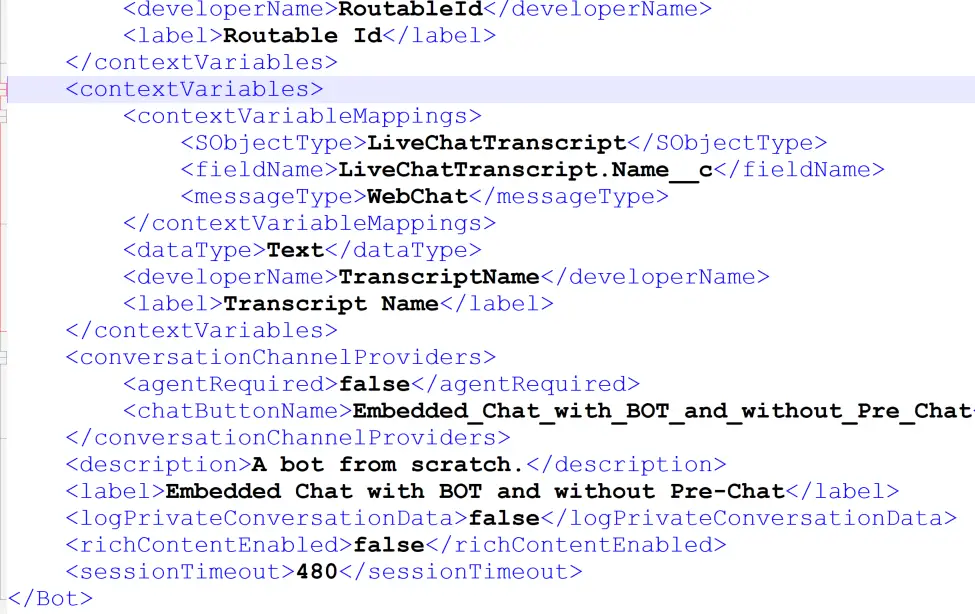
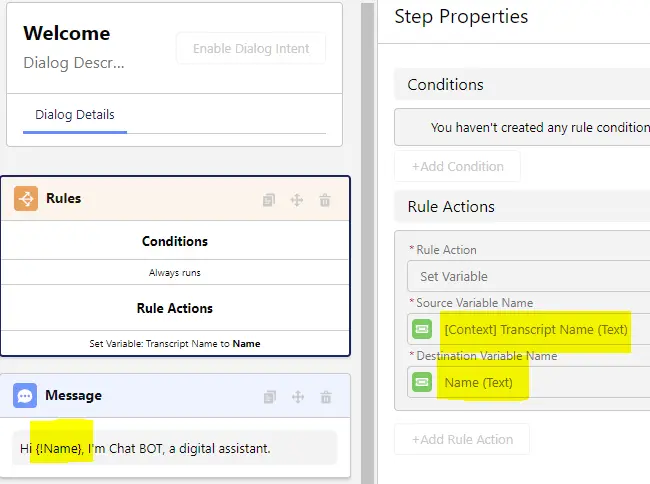
8. Make sure the Context Variable is created after Deployment. Also, create a Custom Variable to greet the user.

9. Use Set Variable Rule Action to pass the Chat Visitor Name from the Context Variable to the Custom Variable. Refer the Custom Variable in the Message to greet the Chat Visitor.
10. Open the Embedded Service Deployment. Click Edit button on the Chat Settings. Click Edit button on the Additional Branding. Select Labels Tab. Select Waiting as the Chat State, select Queue Position Displayed as the Label Group and update the Hello, {0}!.

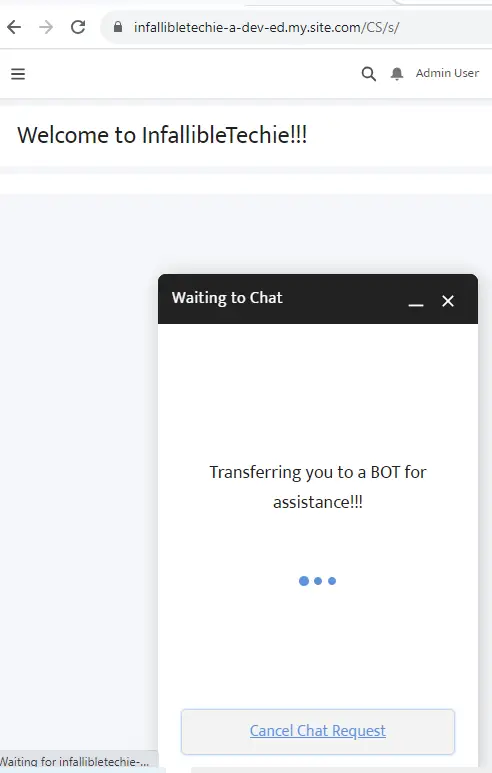
Output: