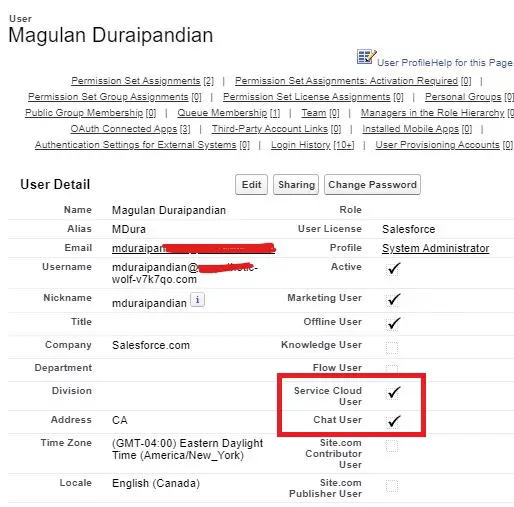
1. Make sure Service Cloud and Chat User check boxes are enabled for you.
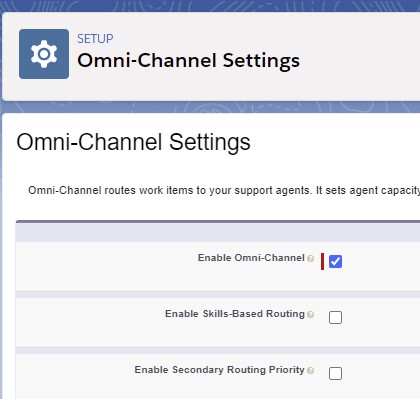
2. Enable Omni-Channel Settings.
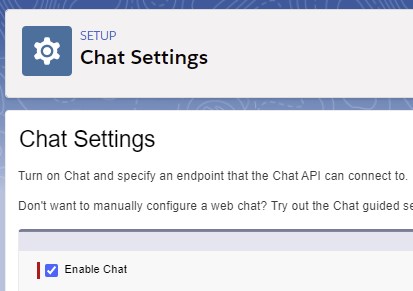
3. Enable Chat Settings.
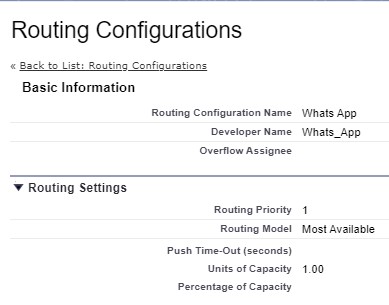
4. Create a Routing Configuration.
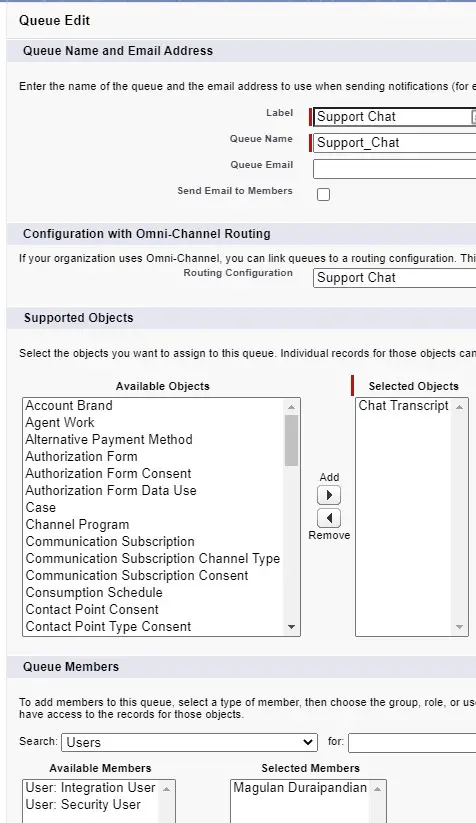
5. Create a Queue with Routing Configuration from step 4. Select Chat Transcript in Supported Objects and select queue members to receive chats.
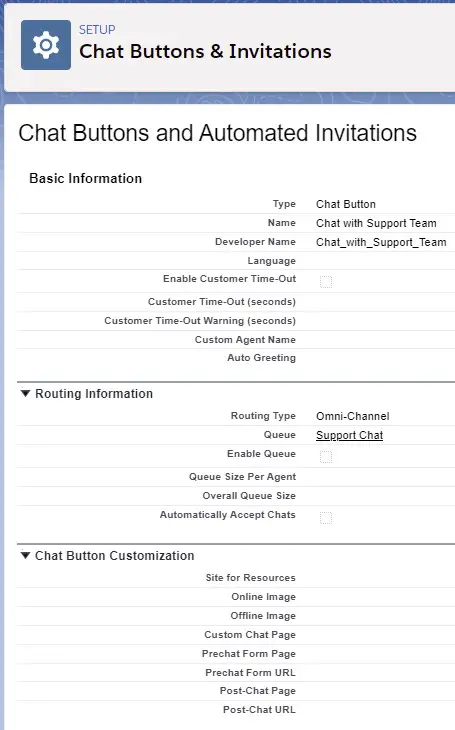
6. Create a Chat button with Routing Type as “Omni-Channel” and Queue with the Queue created in Step 5.
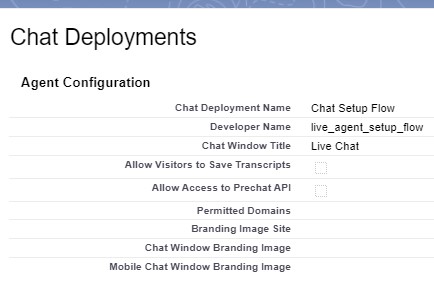
7. Create a Chat Deployment.
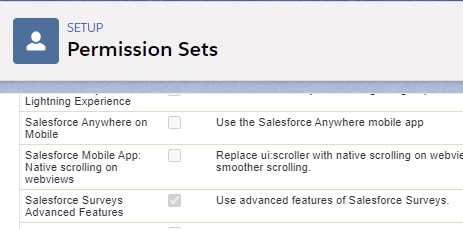
8.Create a Permission Set. Set Salesforce as the License. Make sure “Salesforce Surveys Advanced Features” permission under System Permission is enabled. Assign the permission set to you.
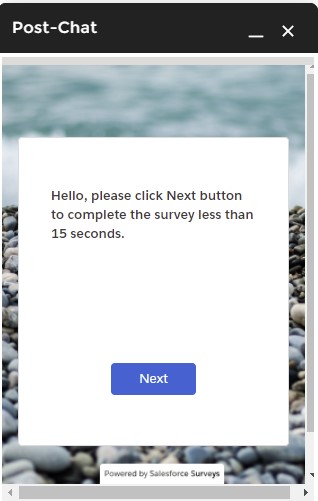
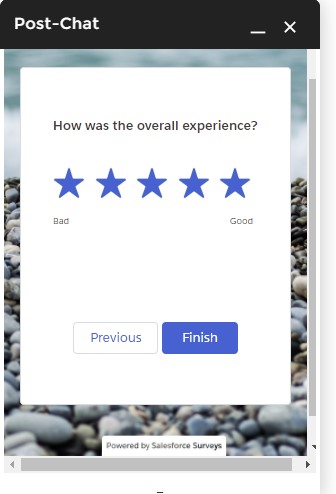
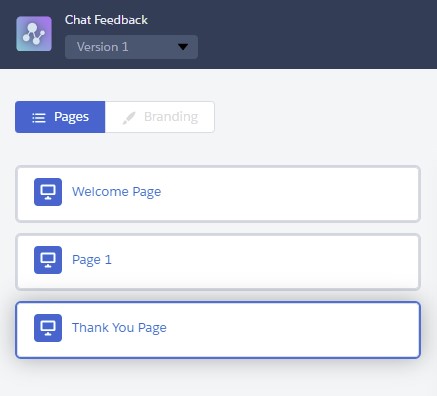
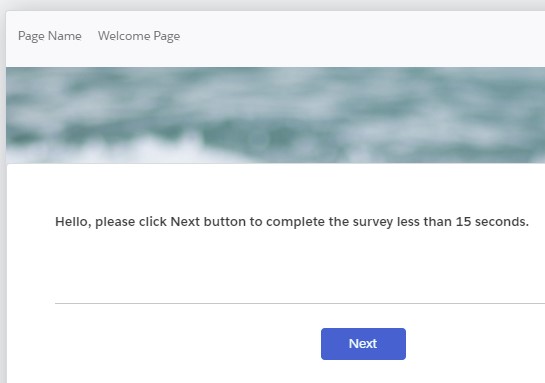
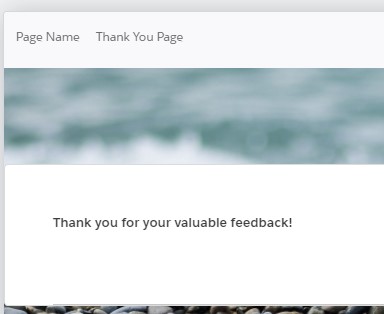
9. Go to Surveys Tab and create a simple Survey.

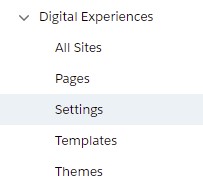
10. Go to Settings under Digital Experience. Enable it.
11. Create a Community. I have used “Customer Service” template. Don’t forget to activate the community.
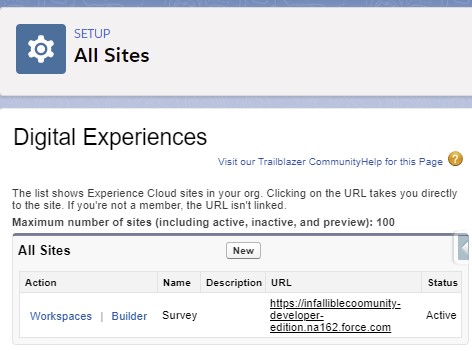
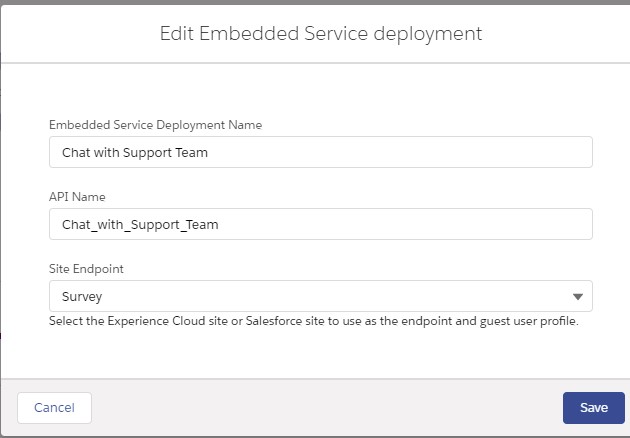
12. Go to Embedded Service deployments in Setup and create a Embedded Service deployment. Select the Community created in Step 11.
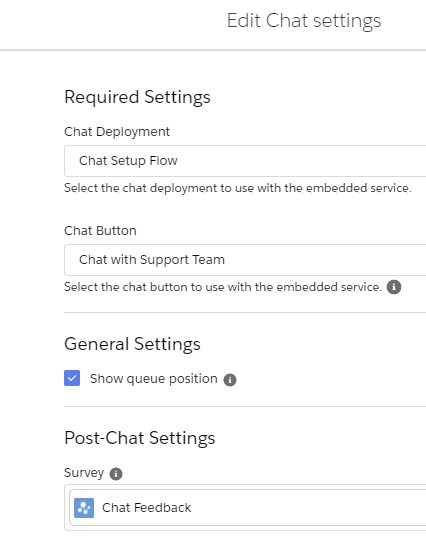
13. In Chat Settings, click Start button. Select the Survey created in Step 9.
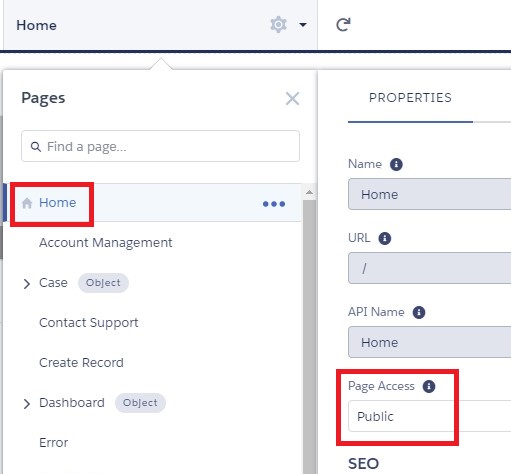
14. Open the Experience Site Builder. Select the Home page. Make it Public.
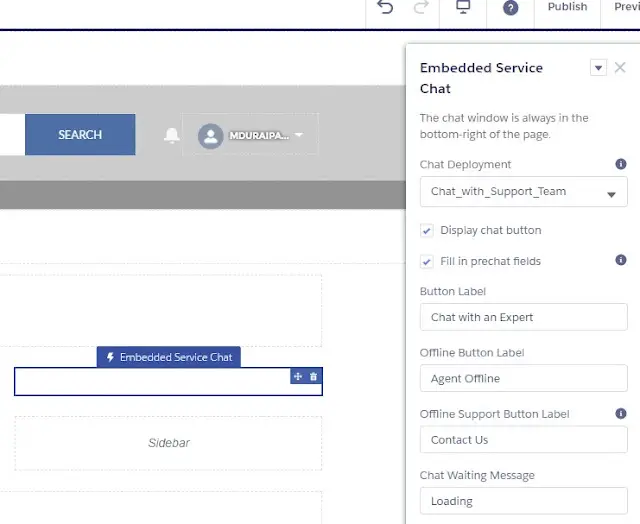
15. Configure Chat in the Home page.
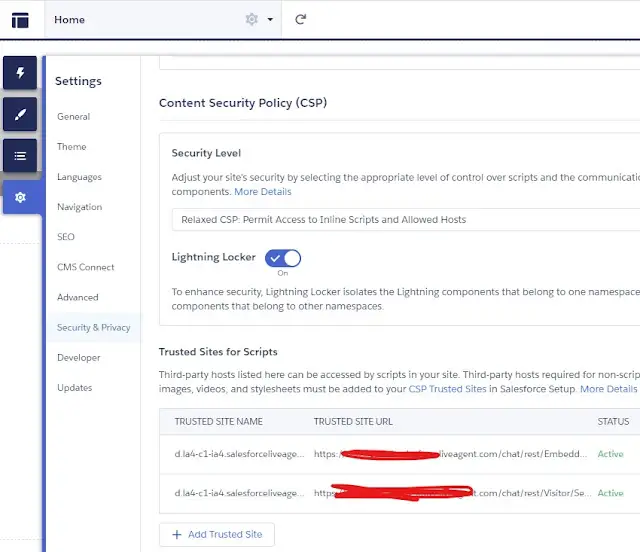
16. Now navigate to Settings and select Security & Privacy. Set Security Level to “Relaxed CSP: Permit Access to Inline Scripts and Allowed Hosts”. Click Allow from the blocked section for Chat related scripts to run.
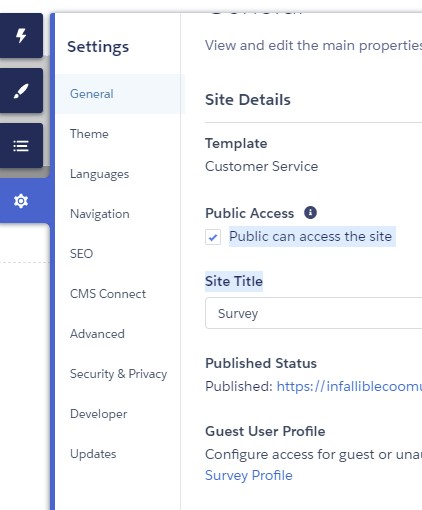
17. Now navigate to General Tab. Select “Public can access the site”. Click Survey Profile. Give Read access to Survey and Survey Invitation objects. Give Read and Create access to Survey Response object.
18. Click Publish to publish the community.
19. Create Presence Status for Chat if not created.
20. Assign Omni-Channel utility to Salesforce Console app if not done.
21. Use the Community url in Incognito window and initiate the chat. Make sure an agent is available to accept the chat.
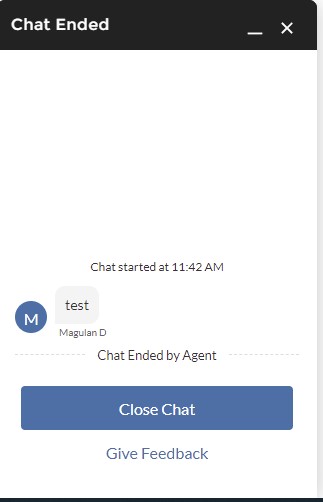
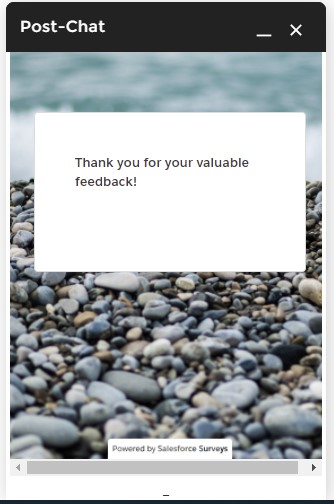
22. End the chat. Click Give Feedback.