Use the following steps for Salesforce and Xero integration.
1. Open the following link.
https://developer.xero.com/app/manage
Note:
If you don’t have an account, sign up for a free trial.
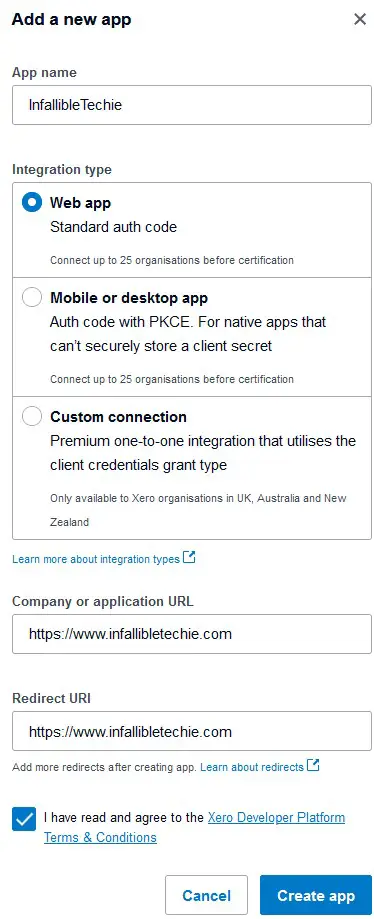
2. Click New App.
3. Click Create App to create the App.
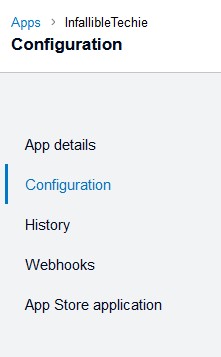
4. Open Configuration on the Left Panel.
5. Click Generate Secret.
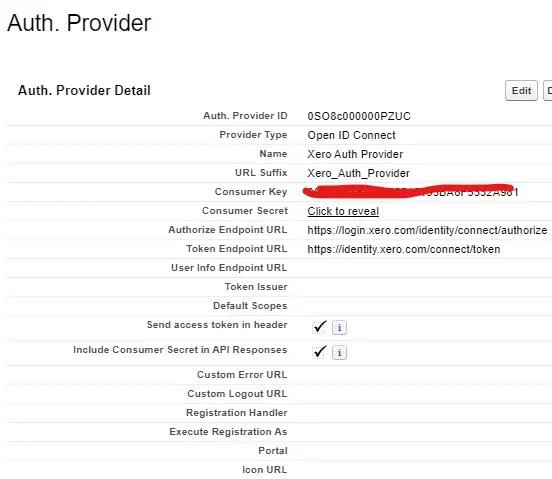
6. Create Auth. Provider in Salesforce.
Authorize Endpoint URL: https://login.xero.com/identity/connect/authorize
Token Endpoint URL: https://identity.xero.com/connect/token
7. Get the Callback URL.
8. Update the Redirect URIs in Xero. Open Configuration on the Left Panel to see it.
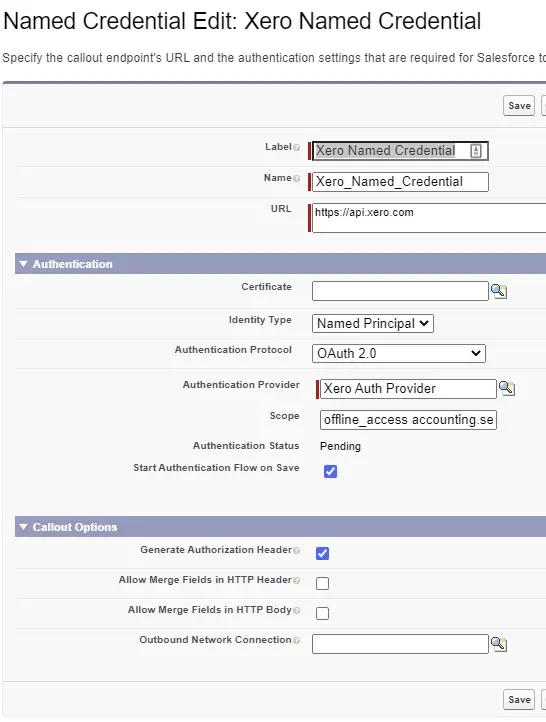
9. Create Named Credential in Salesforce using the Auth. Provider.
Scope: offline_access accounting.settings openid profile email accounting.transactions accounting.transactions.read accounting.contacts
URL: https://api.xero.com
10. Enter the credentials to login into Xero.
11. Use the following code to test.
HTTPRequest request = new HTTPRequest();
request.setMethod( 'GET' );
request.setEndpoint( 'callout:Xero_Named_Credential/'+'connections' );
request.setHeader( 'Accept', 'application/json' );
request.setHeader( 'xero-tenant-id', '' );
HTTPResponse response = new HTTPResponse();
HTTP objHTTP = new HTTP();
response = objHTTP.send( request );
System.debug( 'Status Code is '+ response.getStatusCode() );
System.debug( 'Response Body is '+ response.getBody() );
Here Xero_Named_Credential is my Named Credential API Name.
