Service Provider – https://infallibletech-dev-ed.my.salesforce.com
Identity Provider – https://techietesting-dev-ed.my.salesforce.com
1. Setup domain for the Organizations.
https://www.infallibletechie.com/2013/08/domain-registration-in-salesforce.html
2. Provide Namespace Prefix for the Organizations.
https://www.infallibletechie.com/2015/05/whats-namespace-in-salesforce.html
3. In Identity Provider Organization, go to Security Controls –> Identity Provider.
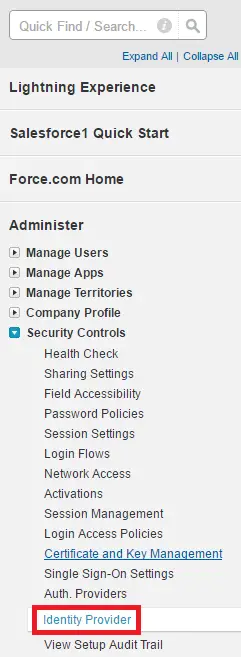
4. Click “Download Certificate” to download the certificate.

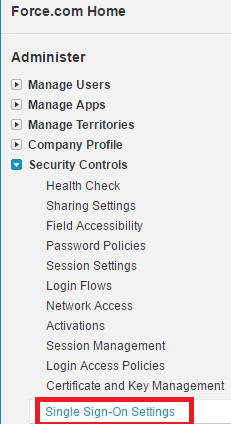
5. In Service Provider, go to Security Controls — > Single Sign-On Settings.
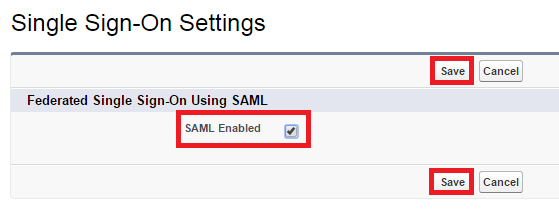
6. Click “Edit” button.

7. Enable SAML Enabled.
8. Click “New” button.

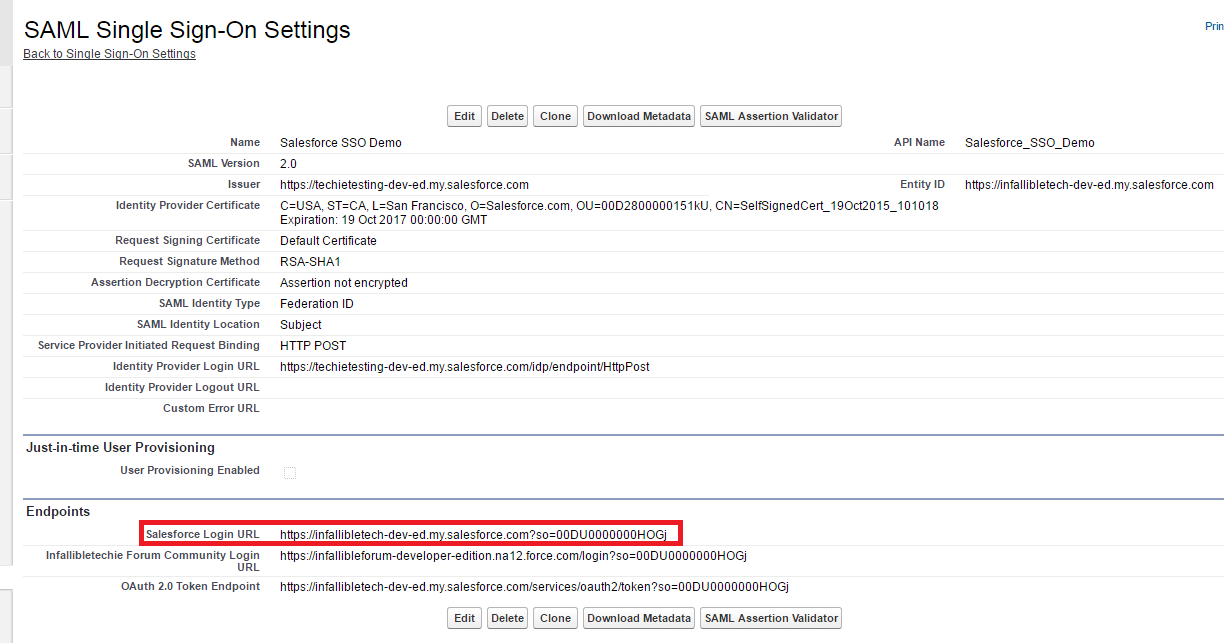
9. Enter the details as below.

10. Copy the Salesforce Login URL.
11. In Identity Provider, go to Create — > Apps. Click “New” under Connected Apps related list.

12. Enter the details as below.

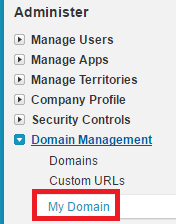
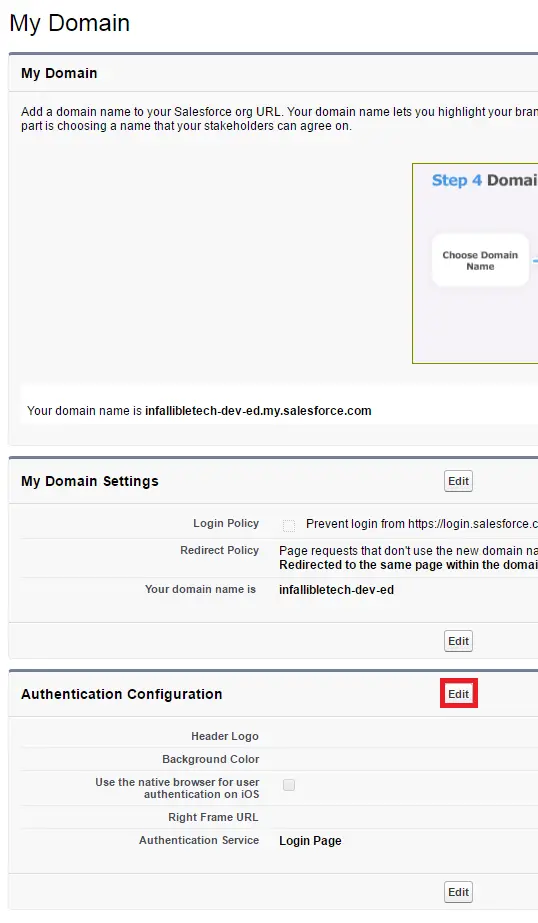
13. In Service Provider, go to Domain Management –> My Domain.
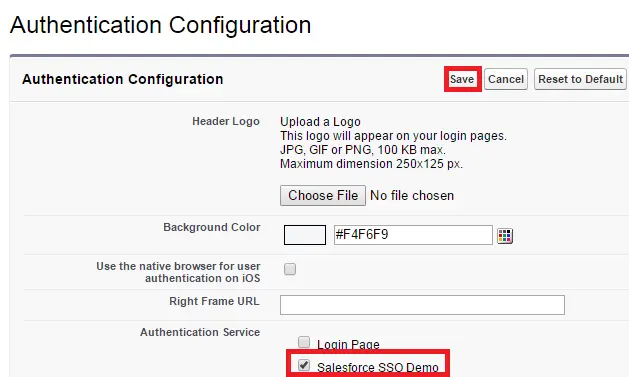
14. Click “Edit” button under Authentication Configuration.
15. Enable the SAML Single Sign-On Settings.
16. In both the organizations, go to users and select one user and set the Federation Id as unique in both.

17. Make sure in the Identity Provider Organization, the user has access to the Connected App.

18. Login in to Identity Provider organization. In another tab, use the Service Provider organization URL, you will be able to login without entering credentials.
Cheers!!!