With Omni-Channel, you can manage the priority of work items to make sure that critical assignments get taken care of quickly. You can manage your agents’ capacity and availability for work to ensure that they’re given only the number of assignments that they can handle. You can also define which agents can work on different types of assignments. Best of all, Omni-Channel routes all of these assignments to the correct agents automatically. Agents no longer have to pick and choose work items manually from a queue, and managers no longer have to triage or dispatch work to agents. Work is served to the most qualified available agent in real time!
Default Presence Configuration in Omni-Channel
When you enable Omni-Channel in your organization, Salesforce creates a presence configuration for you, called the Default Presence Configuration. All your agents are assigned to that configuration automatically. However, you can create a presence configuration and assign individual agents to it to customize Omni-Channel settings for a subset of your agents. If you reassign agents to a custom presence configuration, they’re excluded from the Default Presence Configuration.
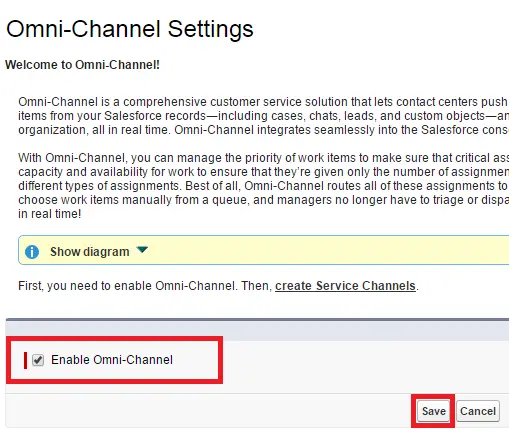
1. Go to Omni-Channel Settings.

2. Enable Omni-Channel.
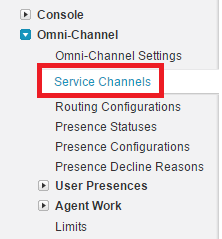
3. Go to Service Channels.
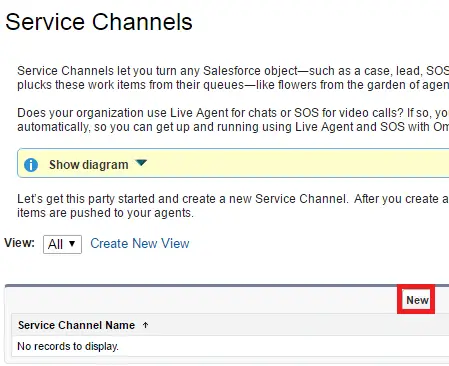
4. Click New.
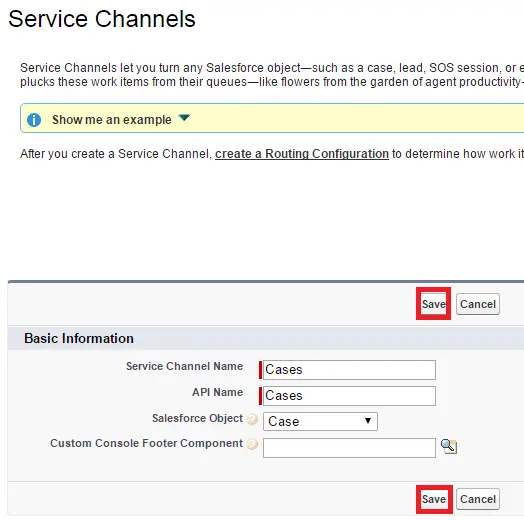
5. Enter the information and click Save.
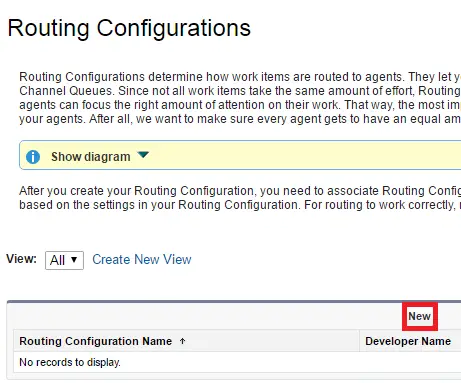
6. Go to Routing Configuration.
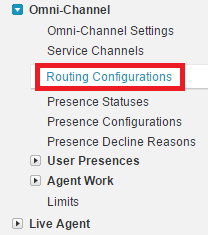
7. Click New.
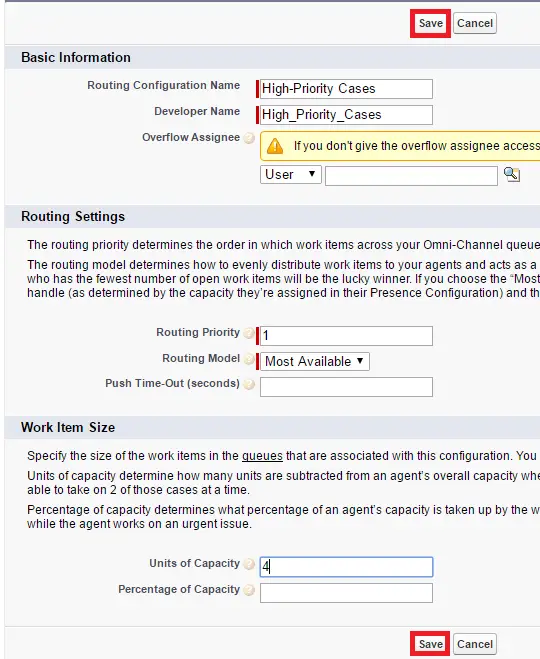
8. Enter the information and click Save.
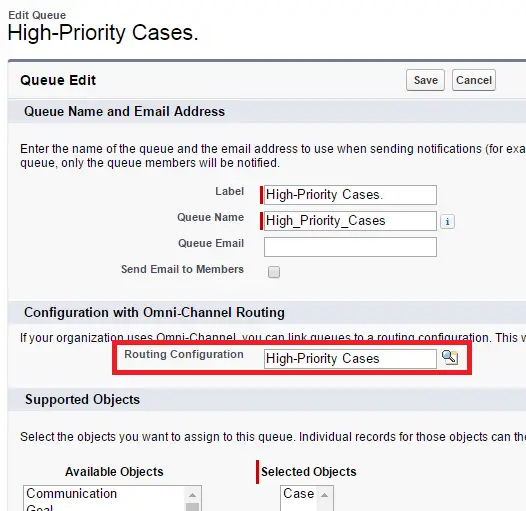
9. For testing purpose, create a queue with the name High-Priority Cases.
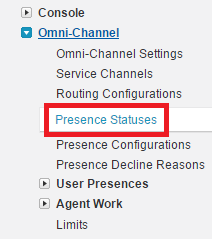
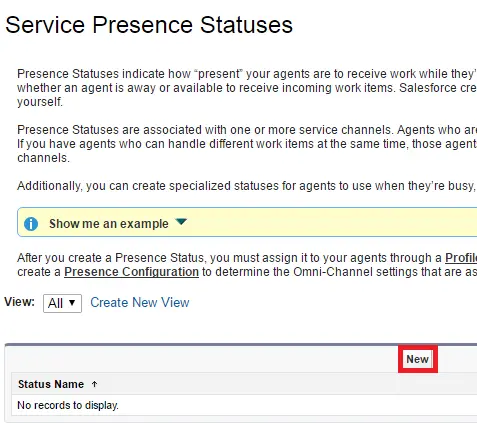
10. Go to Presence Statuses.
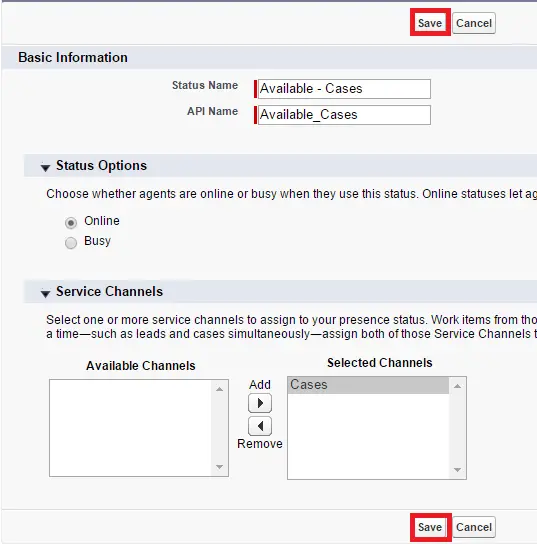
11. Click New.
12. Enter the information and click Save.
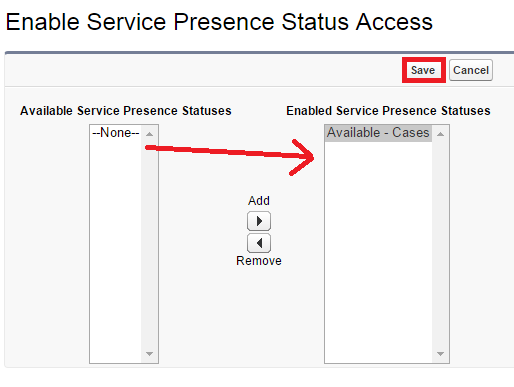
13. Go to a profile where you want to test. Click Edit in Enabled Service Presence Status Access.
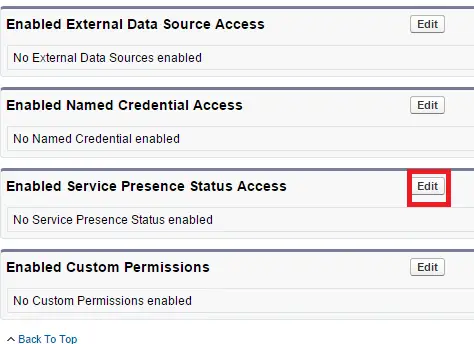
14. Save Enable Service Presence Status Access.
15. Edit a Console app and Add Omni Channel Console Component Salesforce.

16. Open the console app. Create a case with priority High. Change the owner to High Priority Cases queue. Accept the case. It will change the owner as you.
