1. Go to the below link
http://www.seleniumhq.org/download/
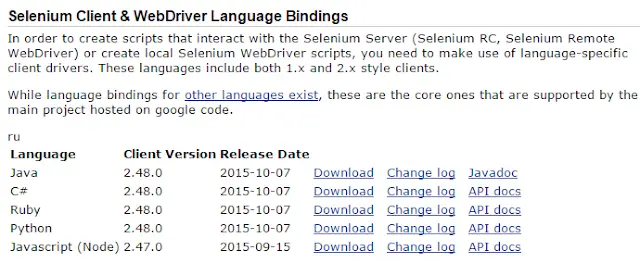
2. Under Selenium Client & WebDriver Language Bindings, download the WebDriver according to your programming language.
In my example, I am selecting Java.
3. Extract the Zip file.
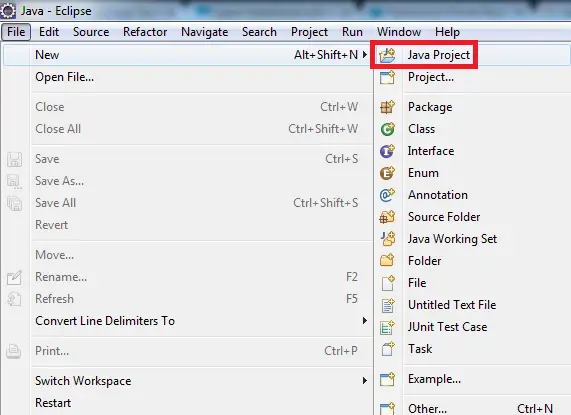
4. Open your Eclipse.
5. Go to File –> New –> Java Project.
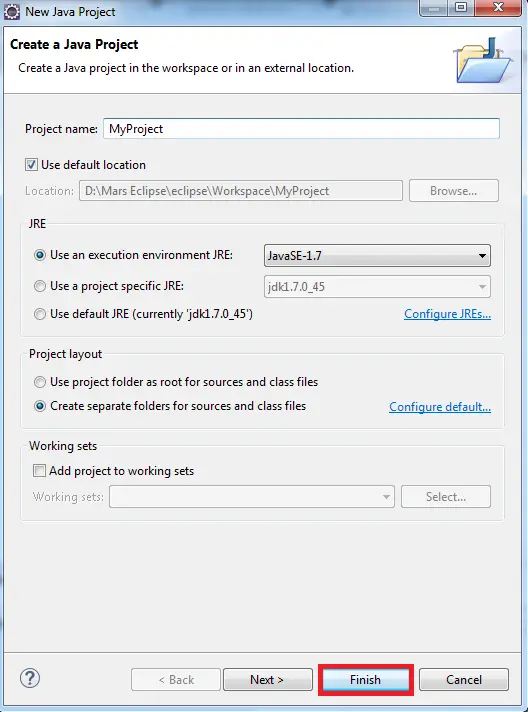
6. Give any name to the project and click “Finish” button.
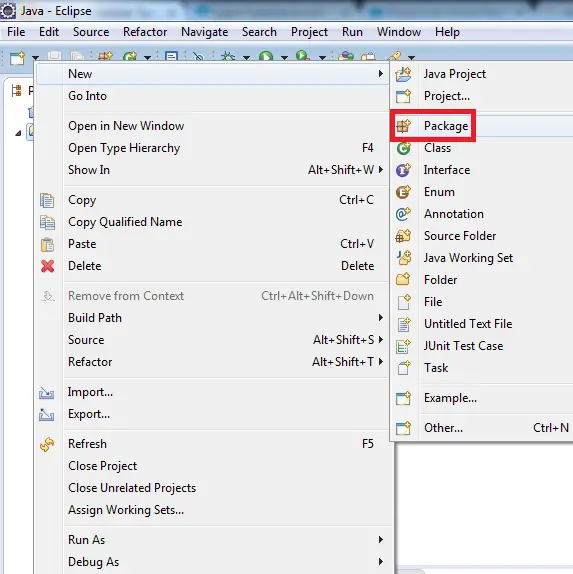
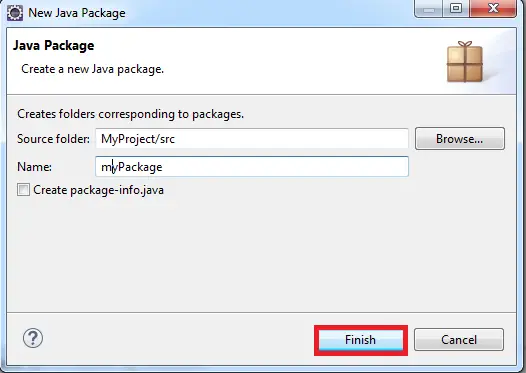
7. Create a new Package.
8. Give any name to the project and click “Finish” button.
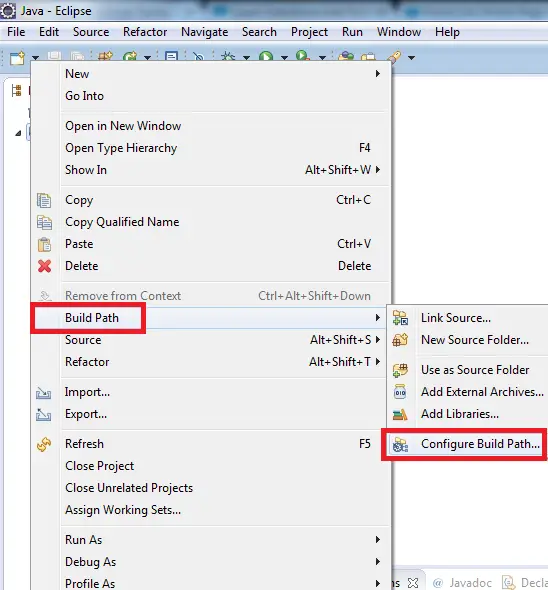
9. Right Click the Project and select Build Path –> Configure Build Path…
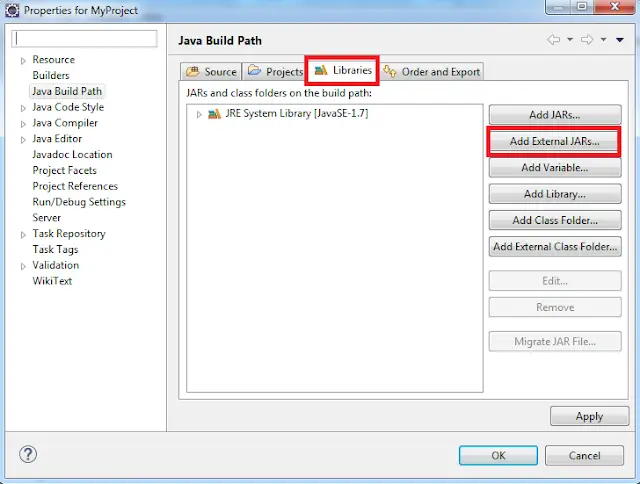
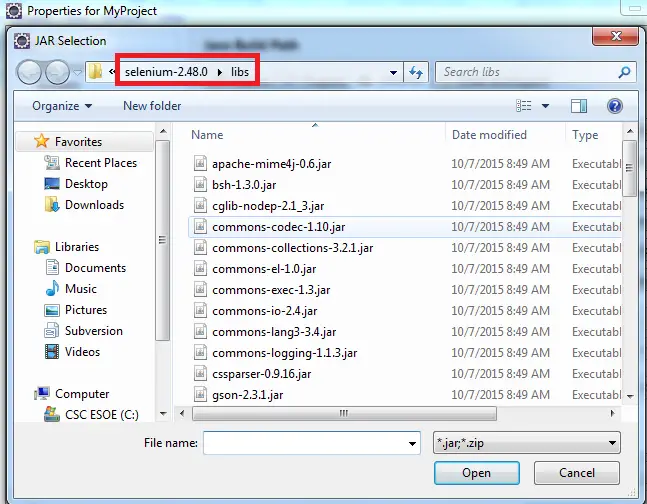
10. Select Libraries and click “Add External JARs..”.
11. Add the Jars from the extracted WebDriver folder.
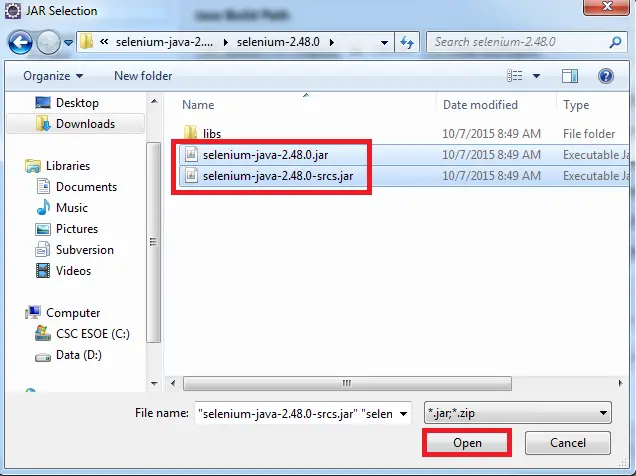
12. Add the Jars from Libs folder too.
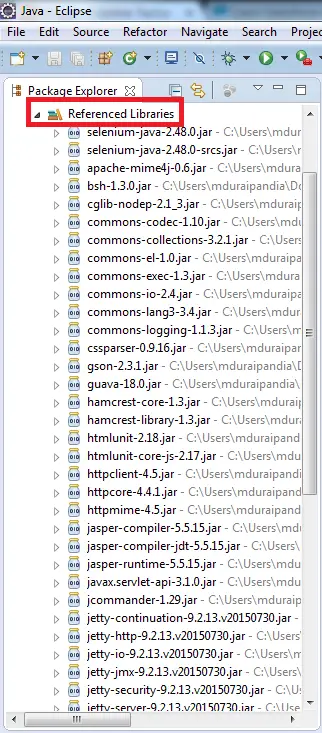
13. You should be able to see the Jars in Referenced Libraries.
Note:
Don’t delete the JARs after adding it to the package from the source directory.