
2. Create a Visualforce page.
<apex:page standardController=”Member__c” extensions=”UploadContentController”>
<apex:form >
<apex:pageBlock >
<apex:pageBlockSection >
<apex:panelGrid columns=”2″>
Select File :
<apex:inputFile fileName=”{!contentToUpload.PathOnClient}” value=”{!fileContent}”/>
</apex:panelGrid>
</apex:pageBlockSection>
<apex:pageBlockButtons location=”bottom”>
<apex:commandButton value=”Upload” action=”{!uploadContents}”/>
</apex:pageBlockButtons>
</apex:pageBlock>
</apex:form>
</apex:page>
3. Create a Controller.
public class UploadContentController {
public ContentVersion contentToUpload {get;set;}
Id memberId;
public Blob fileContent {get;set;}
public UploadContentController(ApexPages.StandardController controller) {
memberId = controller.getId();
contentToUpload = new ContentVersion();
}
public PageReference uploadContents() {
List<ContentWorkSpace> CWList = [SELECT Id, Name From ContentWorkspace WHERE Name = ‘Member Files’];
contentToUpload.VersionData = fileContent;
insert contentToUpload;
contentToUpload = [SELECT ContentDocumentId FROM ContentVersion WHERE Id = :contentToUpload.Id];
ContentWorkspaceDoc cwd = new ContentWorkspaceDoc();
cwd.ContentDocumentId = contentToUpload.ContentDocumentId;
cwd.ContentWorkspaceId = CWList.get(0).Id;
insert cwd;
PageReference pg = new PageReference(‘/’ + memberId);
pg.setRedirect(true);
return pg;
}
}
4. Create a button for the object.
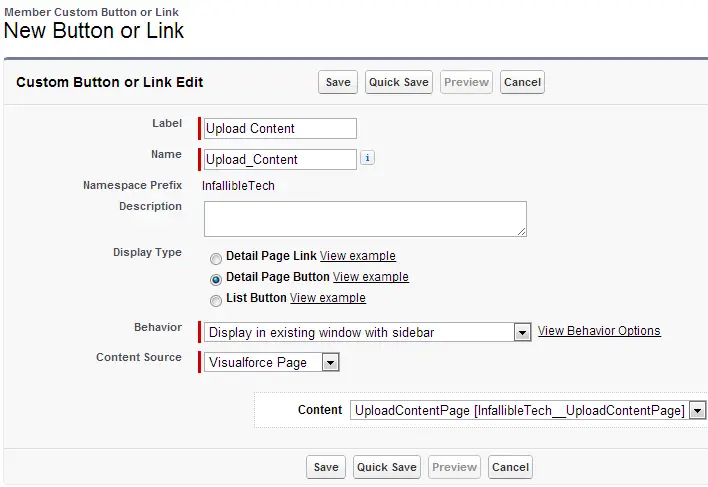
5. Add the Button to the page layout.
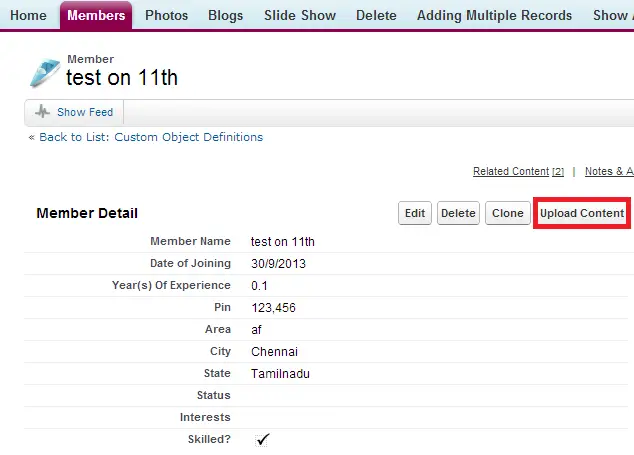
6. Click the “Upload Content” button from a record.
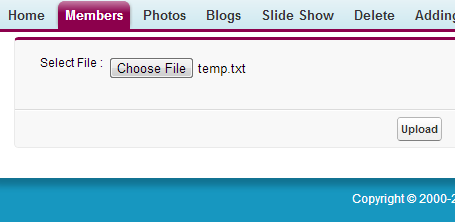
7. Select a file and click “Upload” button.
8. Add “Related Content” related list.
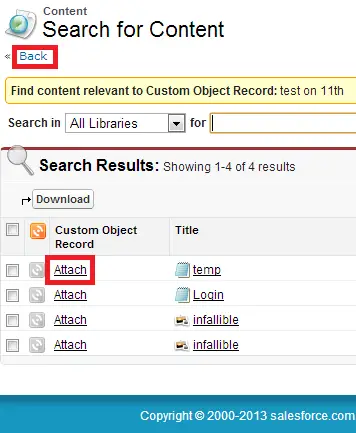
9. Click “Search All” button in “Related Content” related list.

10. Click “Attach” to attach the file to the related content.
11. Click “Back” to go back to the record.
Output:
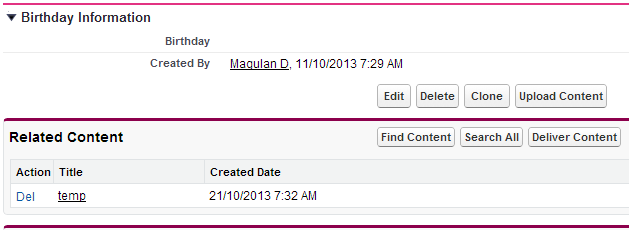
Cheers!!!