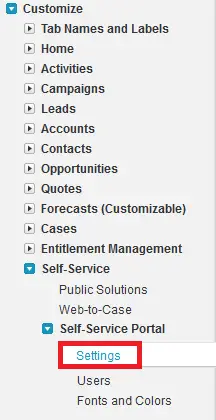
1. Go to Setup –> Customize –> Self-Service –> Self-Service Portal –> Settings.
2. Enable Self-Service Portal.
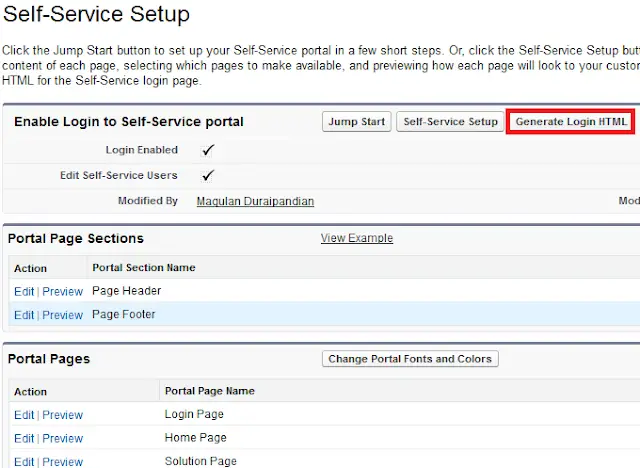
3. Setup it using Jump Start or Self-Service Setup.
4. Click “Generate Login HTML” button.
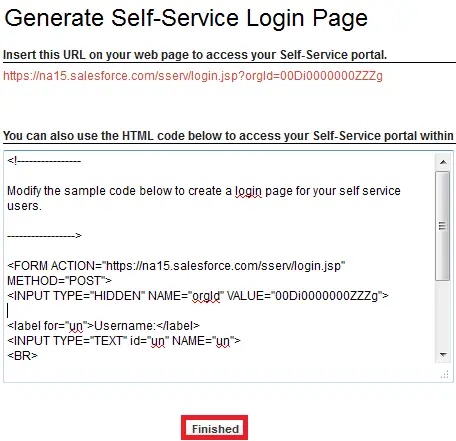
5. Copy the generated HTML and create a HTML page and click “Finished” button.
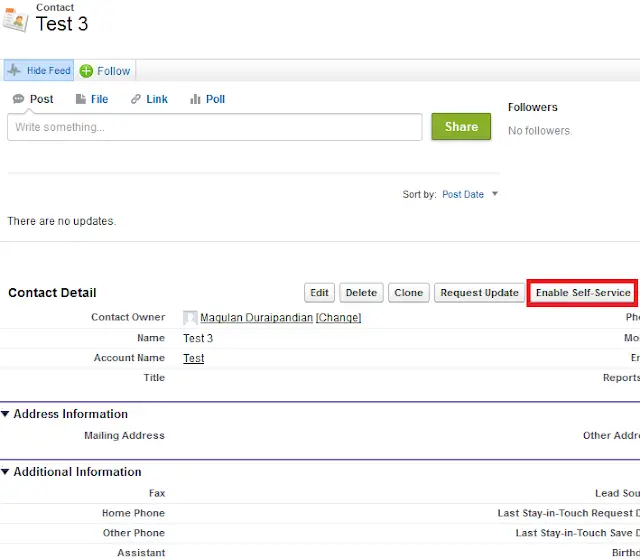
6. Create a Contact and click “Enable Self-Service” to receive the login credentials to login into Self-Service Portal.